What is a behavioral campaign?
Behavioral email campaigns are marketing emails that are automatically sent to customers when they take certain actions on your site or in your mobile application. You can send an email immediately or set a wait period, such as a few days.
In Vero, behavioral emails are used to send highly personalized emails based on current and past customer behavior.
Here are a few examples:
- Send new customers a series of welcome emails.
- Send a coupon code when a customer views a product page three times in one week but doesn’t make a purchase.
- Remind your customers about app features they haven’t tried yet.
- Behavioral emails can also be used to power drip campaigns and autoresponders (i.e a series of automated emails) as an action on your website can trigger both a single email or a series.
Vero’s behavioral emails replace exporting customer data, creating new segments in Excel and uploading new lists. They’re the fastest, easiest way to send highly personalized, timely emails.
Setting up a behavioral campaign
You can now create a behavioural campaign using Vero's new Workflow feature.
Read our quick guide to [creating a new workflow](https://help.getvero.com/workflows/articles/creating-a-new-workflow/).
Simple behavioural emails can also be set up by selecting Campaigns > Behavioural in your Vero account. There are 4 main sections to a behavioural campaign.
1. What event do you want to associate/trigger with this campaign?

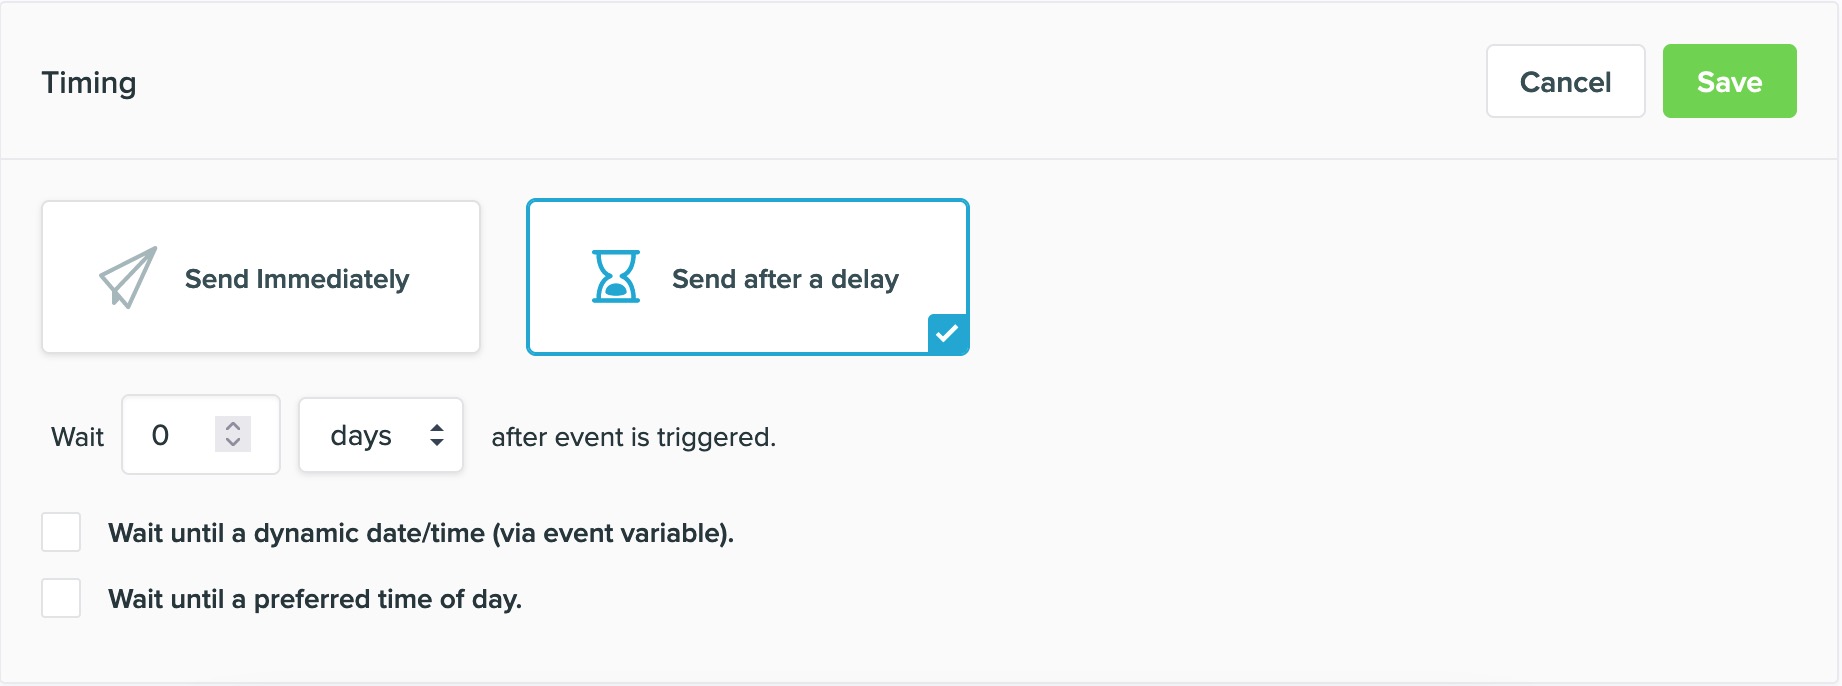
2. When do you want this campaign to deploy?

3. Who do you want to qualify for this message?

Note: By default if no segment is selected, the "All Segment" which is all your records qualify for is used by default.
More on Targeting/Segments/Conditions
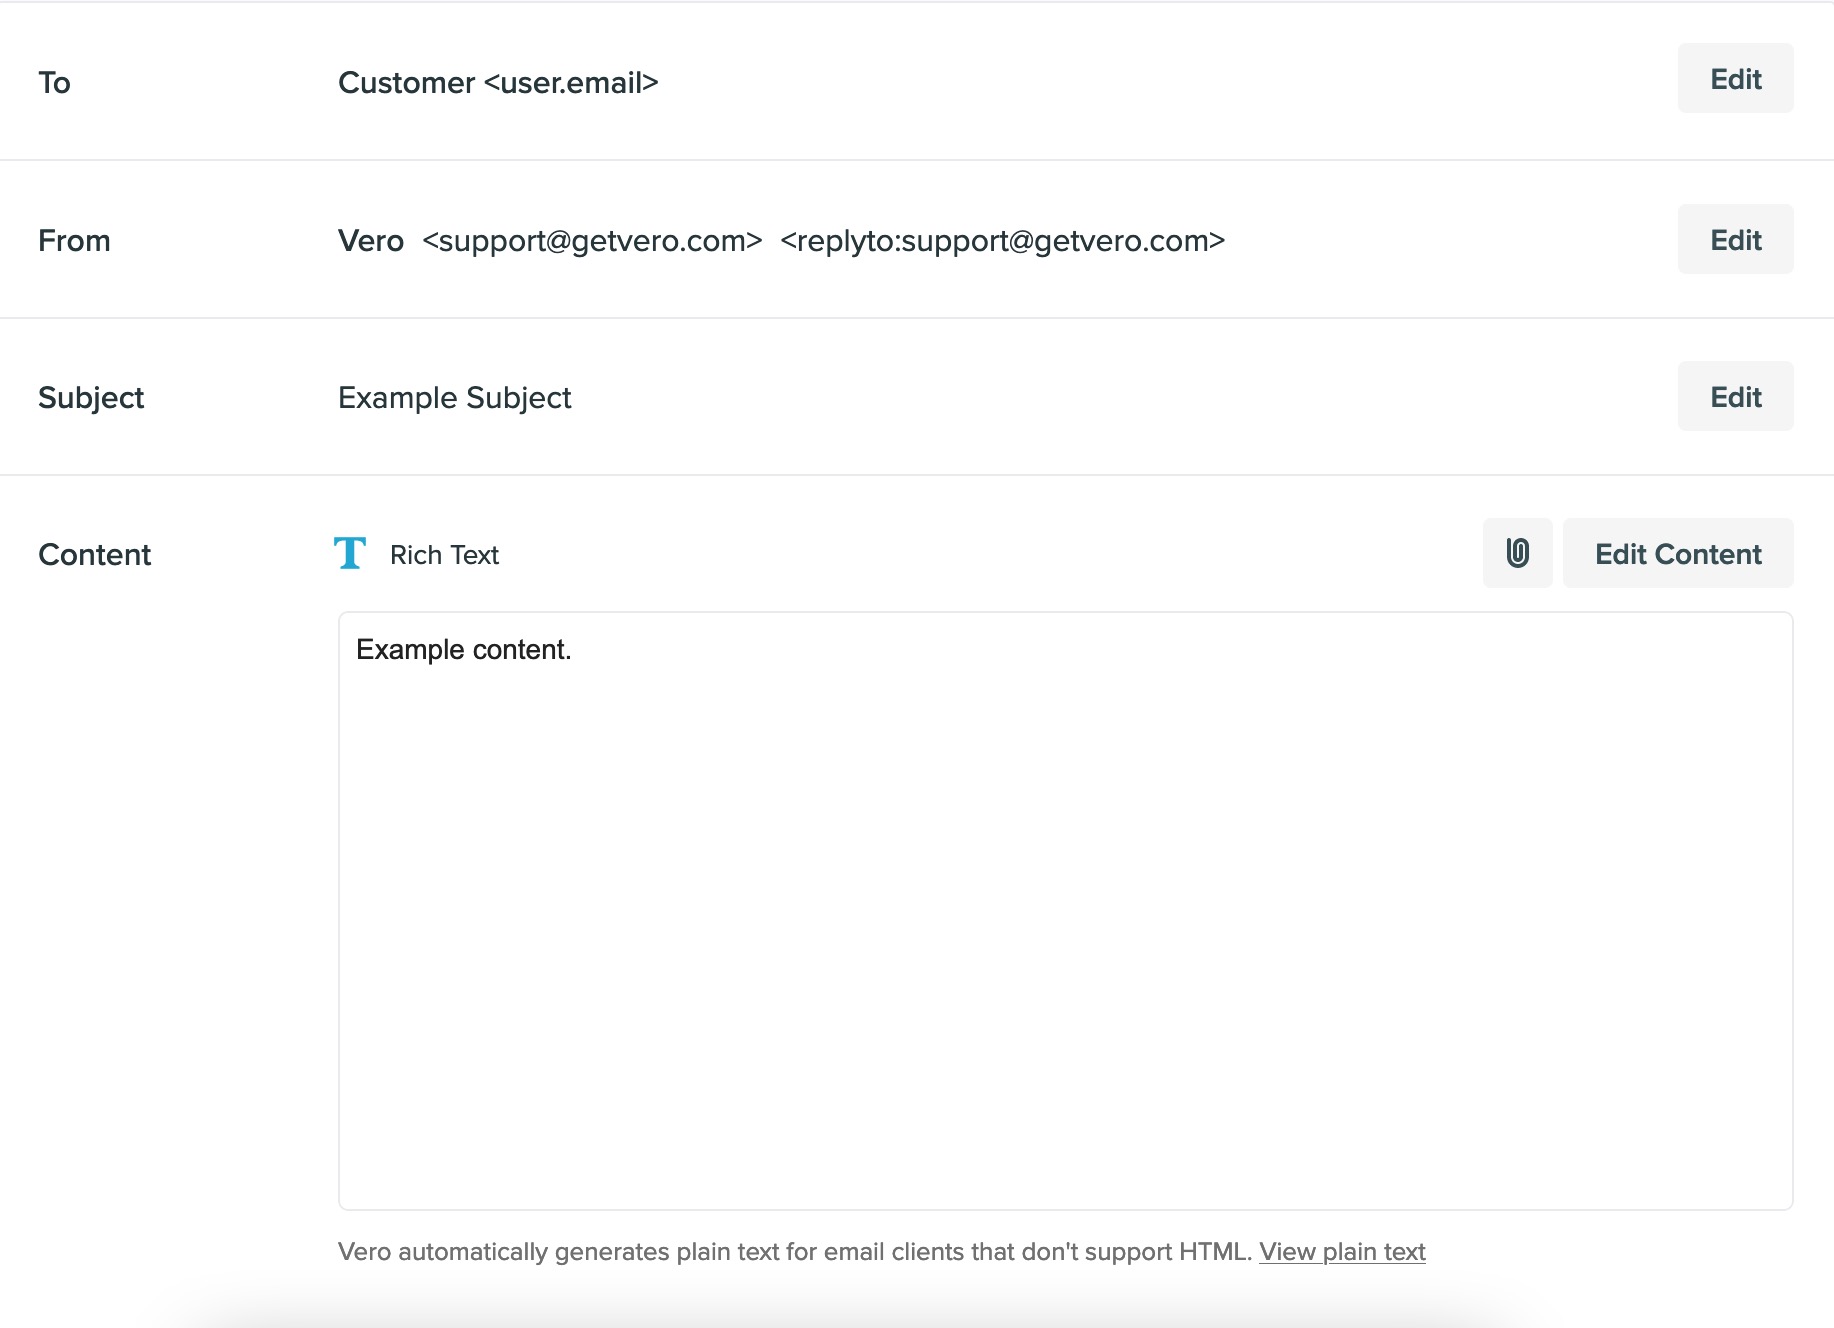
4. What message do you want to send?
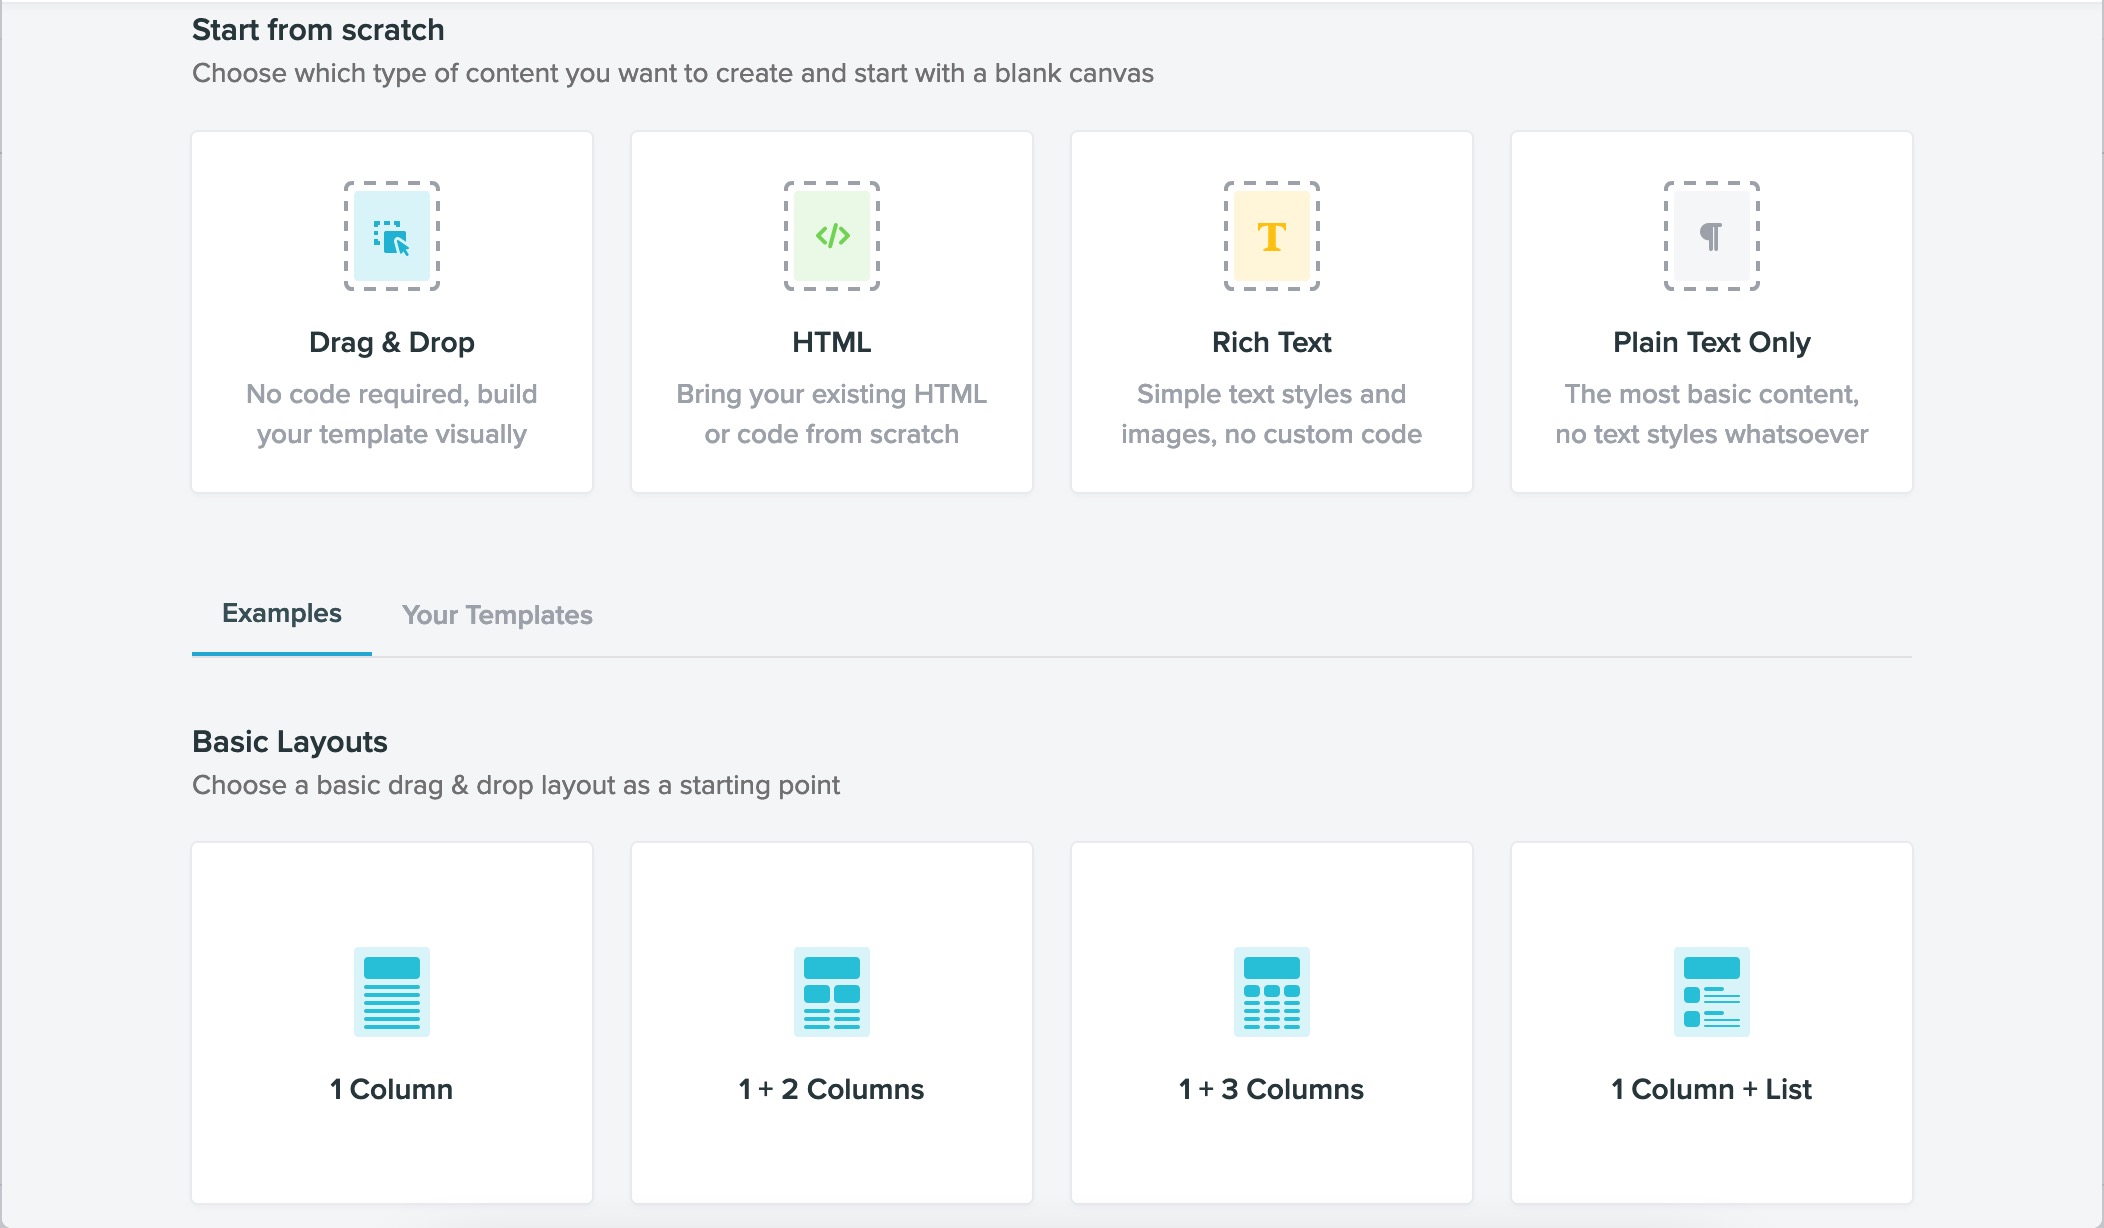
You can [configure the email addresses](/workflows/articles/adding-to-and-from-email-addresses/) (both from and to), use [merge tags](/workflows/articles/inserting-merge-tags-using-liquid-in-my-emails.html), generate a plain text version, or edit with the HTML with either the rich text editor or use a base template from this section.


Additional steps can be added to a series by selecting the campaign once the initial message is created and then selecting the Add Email to Series button on the specific campaign page.

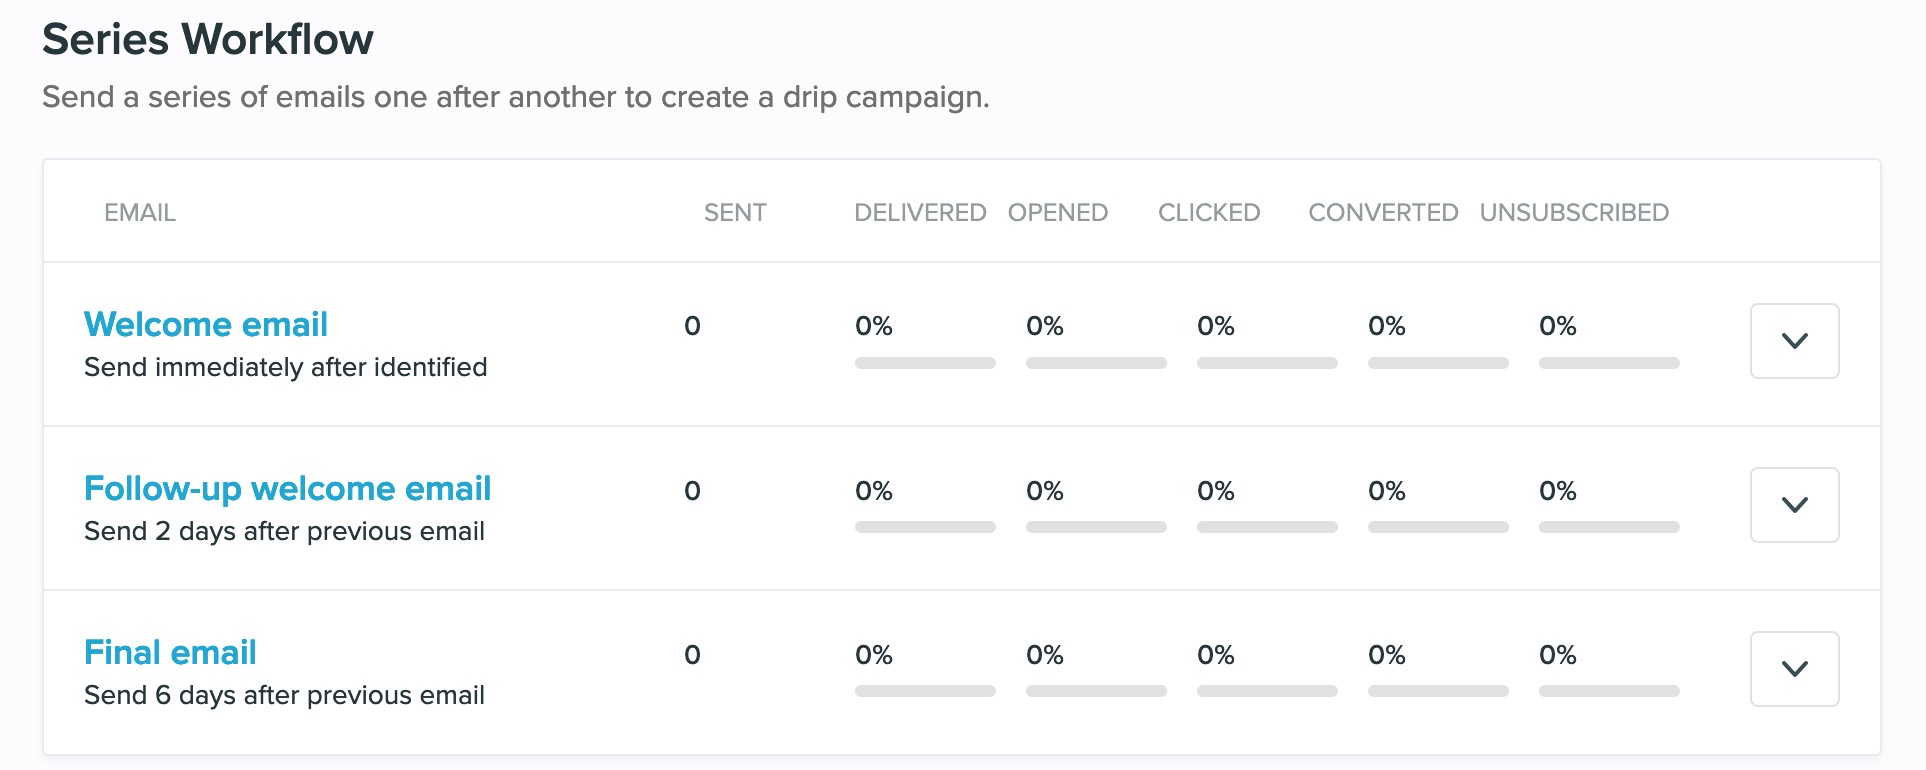
Here is an example overview of a 3-Step Welcome Series:

-
"Welcome email" This message is the first message of this series. It is set in this example to deploy immediately.
-
"Follow-up welcome email" This message will deploy 2 days after the last message to the segment that is selected in step 1 if they also qualify for the conditions listed within this step.
-
"Final email" This message will deploy 6 days after the last message to the segment that qualifies for the previous step, and also meets any additional conditions listed within this segment or campaign.


