How to connect to Snowflake
Vero can connect to your Snowflake database, run queries against it, and use the results of those queries to send messages to your customers. In Vero, database connections are referred to as Data Sources.
Adding your database
To add a Snowflake database as a Data Source click Data Sources and Add Data Source. In the menu that appears, choose Snowflake:

Required fields
To configure your Snowflake connection, provide:
- Host – The Snowflake account hostname (e.g. xy12345.us-east-1.snowflakecomputing.com).
- Port – Typically 443.
- Username – The Snowflake user Vero will connect as.
- Private key file – Upload the private key that corresponds to your Snowflake user.
- Database name – The Snowflake database you want to query.
- Warehouse – The compute warehouse used for executing queries.
Optional fields
- Schema – Used to narrow the list of tables shown in the Vero query interface.
- Role – The role Snowflake should use when running queries.

Uploading your private key
Vero supports RSA private keys in unencrypted formats.
To generate a private key for your Snowflake user (bash):
# Generate private key
openssl genrsa -out rsa_key.pem 2048

# Create public key to register in Snowflake
openssl rsa -in rsa_key.pem -pubout -out rsa_key.pub
Then, in Snowflake, assign the public key to your user (SQL):
alter user VEROCONNECT_USER set rsa_public_key='<contents of rsa_key.pub>';
Tip: Use a dedicated user and role for Vero (details below).
Testing your connection
Once you’ve entered your database credentials, select Connect. Vero will automatically test the connection:

Securing your connection
Create a read-only user
Vero only executes SELECT queries. We strongly recommend:
- Creating a dedicated Snowflake user (e.g. VEROCONNECT_USER)
- Creating a dedicated role (e.g. VERO_READONLY)
- Granting the role only the access Vero needs
Key Snowflake permissions to remember:
- Grant USAGE on the warehouse
- Grant USAGE on the database and schema
- Grant SELECT on the tables/views you want Vero to use
Example (SQL):
create role VERO_READONLY;
grant usage on warehouse MY_WAREHOUSE to role VERO_READONLY;
grant usage on database MY_DB to role VERO_READONLY;
grant usage on schema MY_DB.PUBLIC to role VERO_READONLY;
grant select on all tables in schema MY_DB.PUBLIC to role VERO_READONLY;
When configuring your Data Source in Vero, include the role to ensure the right permissions apply.
If you don’t provide a role, Snowflake defaults to the PUBLIC role, which may unintentionally expose data.
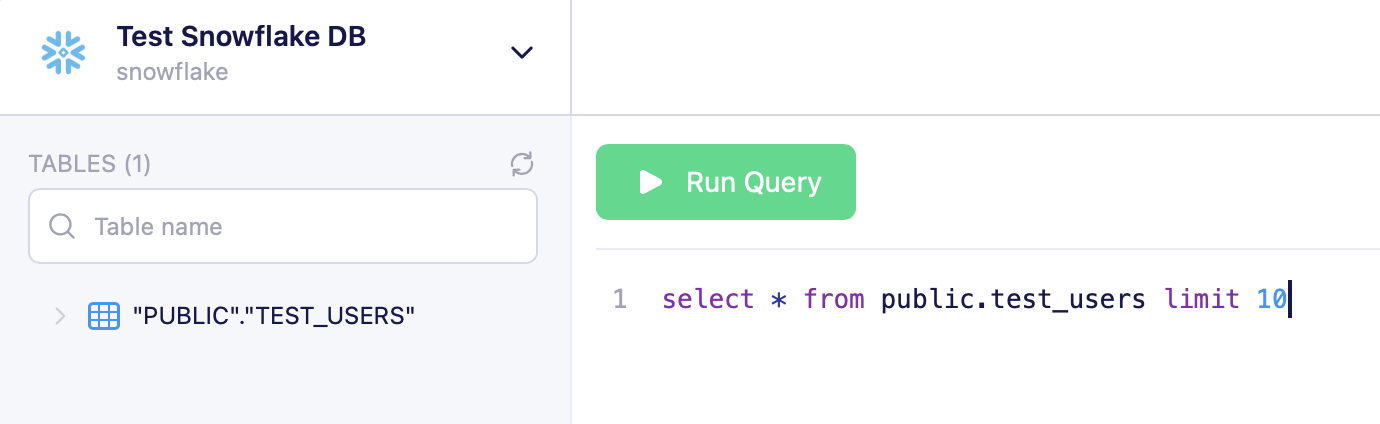
Including a schema helps narrow down the list of available tables presented in Vero's query interface:
IP whitelisting
Vero will connect directly to your database over the public internet. This approach requires your network and database to be configured to allow Vero’s servers to connect to it.
Find the list of active IP addresses Vero uses to connect to your database here. Whitelist these addresses to secure access to your data.
FAQs
What types of queries can Vero run?
Vero supports read-only SELECT queries. No UPDATE, INSERT, DELETE, MERGE, or DDL commands are allowed.
Are there query limits?
- No strict row limit in Vero’s UI.
- We’ve tested reliably up to 1 million rows.
- Query results in the UI display in pages of 100 rows.
- To load a full newsletter audience, run the entire query without LIMIT.
Is there a query timeout?
Queries currently time out after 12 hours.