Localization strategies
Note: Vero automatically tracks locale property in our Javascript SDK. The locale property contains the language and a region identifier, such as es-CL (Spanish, Chile). This information is available in the Vero segmentation tool by segmenting on user properties.
Whilst Vero has localization functionality built in to the UI, this workflow doesn't suit all use-cases.
In this article, we outline multiple alternate approaches to localization in Vero.
Built-in multi-language features
You can learn how to use the localization features built in to Vero's UI in the following help article: Create a multi-language campaign.
Load translations from a localization partner
Most localization providers, such as Transifex and Lokalise, provide an API for accessing completed translations. Some localization providers also support direct HTML-to-HTML translation.
Using HTML
Using this approach, messages are designed in Vero for the default language (e.g. English) and then exported as HTML.
HTML is imported into your translation provider for translation. Once complete, the translation provider provides rendered HTML in each of the destination languages.
The translated HTML documents are imported directly into Vero using the built-in multi-language features (see Create a multi-language campaign) and the "HTML" content editor.
Using JSON
A more scalable solution is to define default language strings in a central translation file.
This file is then provided to a localization partner for translation, with variants available for each string that has been translated.
You can use Vero's Fusion functionality to directly request and insert each of these language strings.
Using this approach, messages are designed in Vero but, rather than writing the copy in Vero, all strings are inserted dynamically using Liquid. The value of those strings is loaded dynamically at send time from your localization provider.
See the following example:
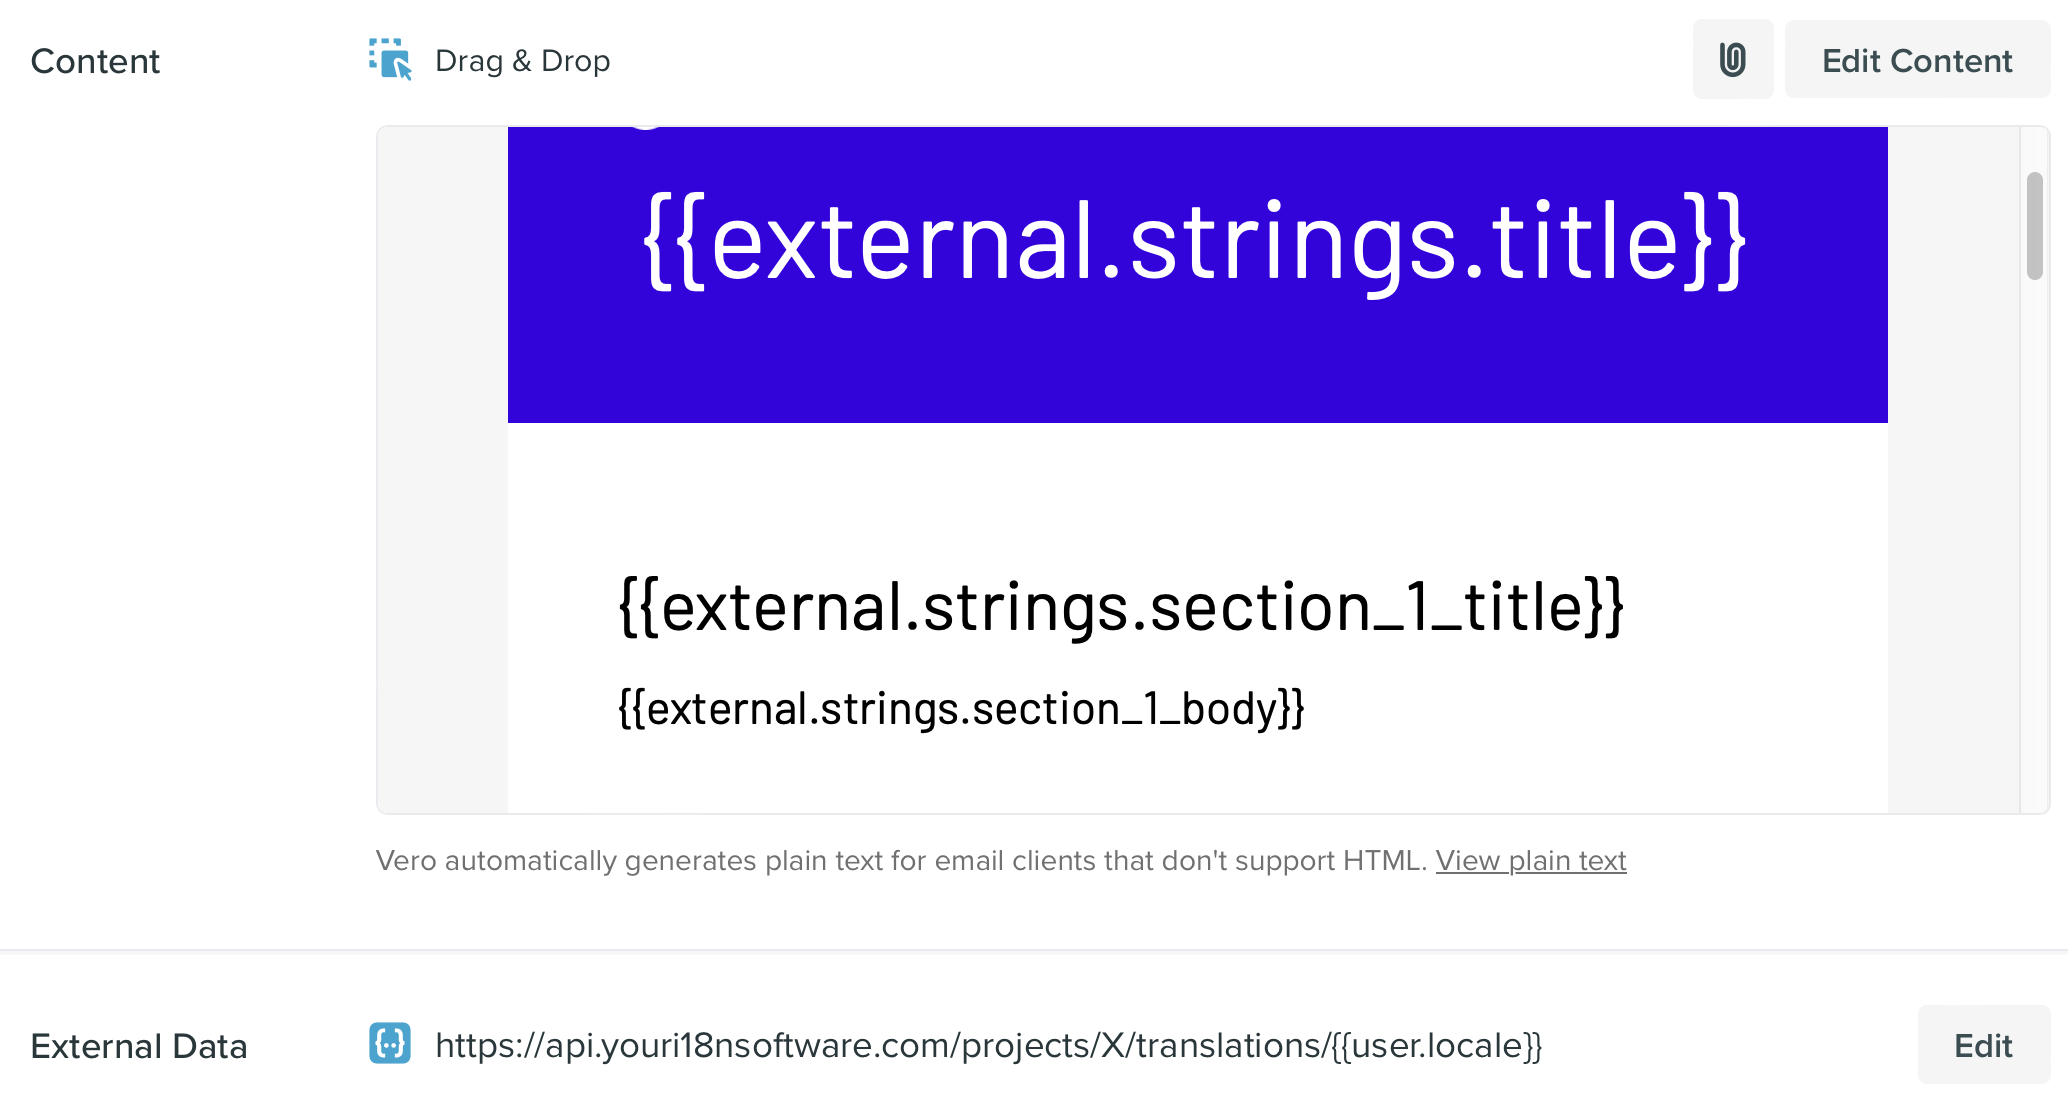
Using Fusion, you can include a link to the appropriate API endpoint for your localization provider. In the example above this is:
https://api.youri18nsoftware.com/projects/X/translations/{{user.locale}}
For each campaign you create, all copy would be written in and managed using your localization provider. All you need to do in Vero is chose the target audience, design the message and insert the copy in the right places. From there, copy is automatically imported and rendered by Vero.
This approach removes the need to manage language variants using Vero's built in, UI-driven multi-language features and is typically more scalable.
Use Liquid conditions inside a message
A simple, but sometimes effective solution, is to use Liquid logic to personalize language content.
For example, you could do the following:
{% if user.locale == `es-ES` %}Hola{% else %}Hello!{% endif %}
This solution doesn't always scale but can be helpful in certain situations. Particularly when combined with Snippets, as below.
Don't forget to use snippets
Vero's Snippets functionality enables you to save frequently used content. Particularly useful for localization are "locked snippets".
Locked snippets enable you to update a content block across all of your workflows at once. This is powerful for localization as headers, footers and other components used across all of your campaigns can be built out using one of the methods above and maintained across all of your automations centrally.