Integrate Zapier with Vero
Note: We have now released our official Vero + Zapier integration. This version has been fully approved by Zapier. You can access the latest Zap here.
For those customers using a previous version of our Zap, there is unfortunately no way to automatically migrate to the new version. The old version will be kept running but will no longer be added to. In order to use new functionality and remove usage limits, please migrate to the latest version.
Zapier makes it easy to add customers and their properties as well as tracking events.
One of the things that distinguishes Vero as a platform for communicating effectively with your customers is that it is a central data store of all of your customer interactions.
By tracking who your customers are and what they do, Vero enables you to trigger automated campaigns, send more segmented one-off emails and get a better understanding of your customer base.
This guide will explain how you can use the Vero Zap.
Zapier "Actions"
In Zapier, an action is trigger by an event. For example, if you created the following Zap:
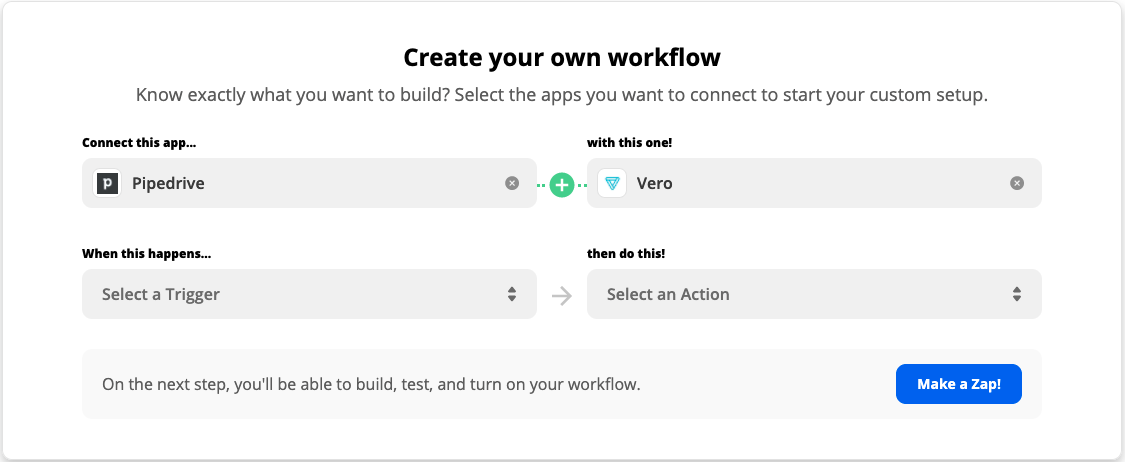
...the Action is the right hand side – it is the adding of a customer profile in Vero.
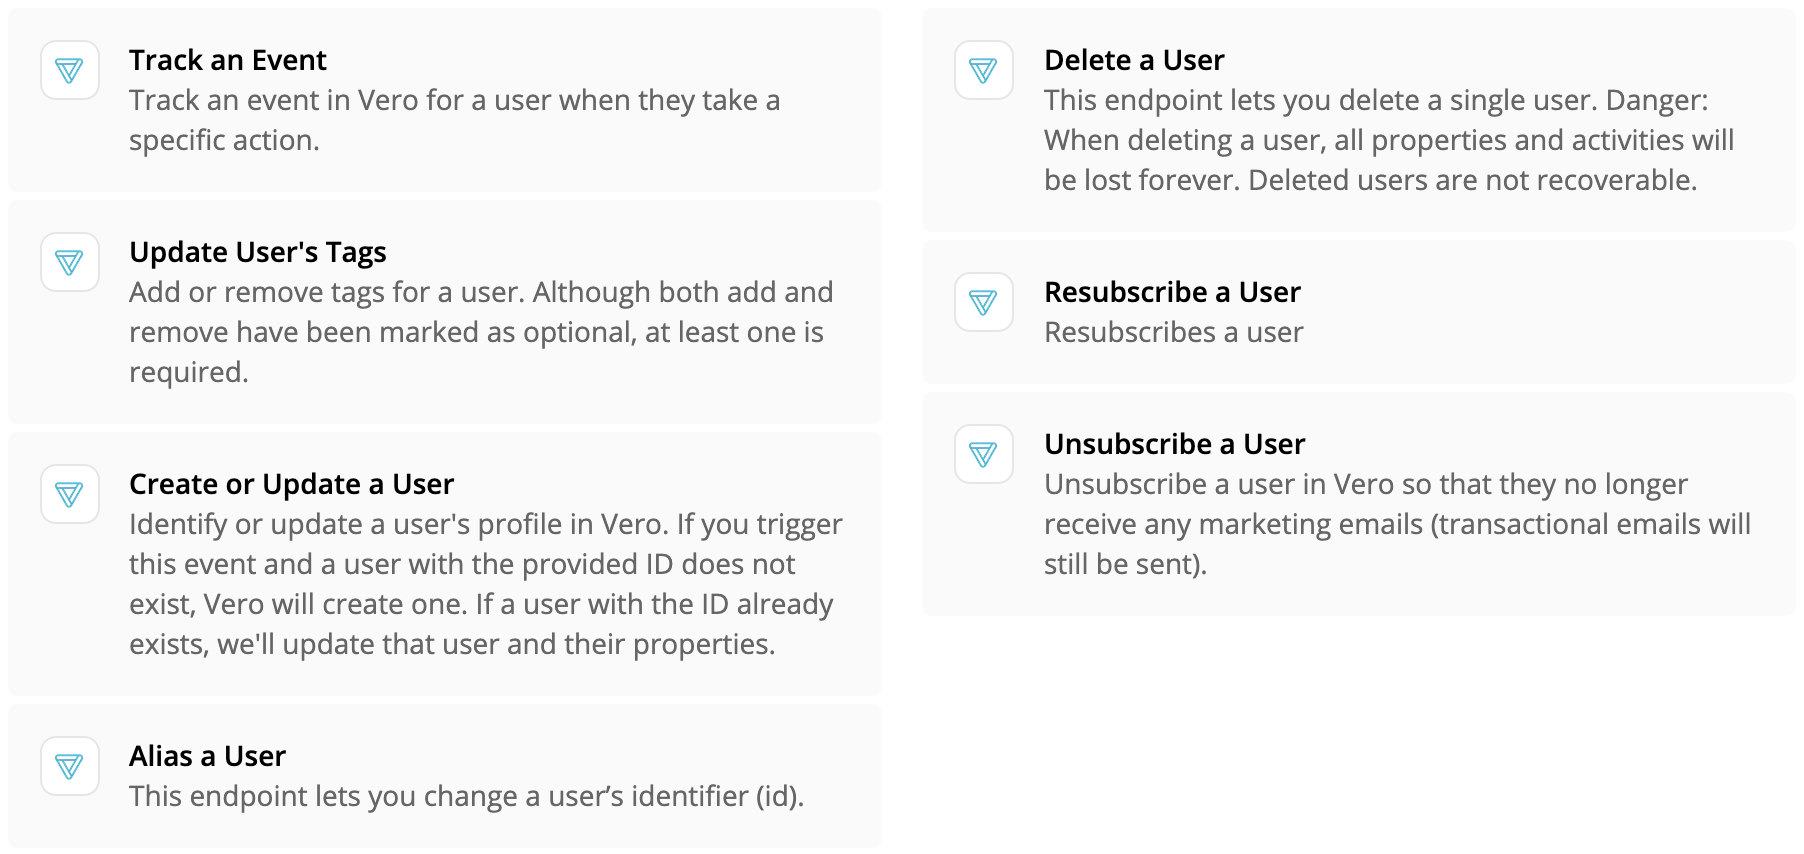
The Vero Zapier plugin has the following actions available:
The basics
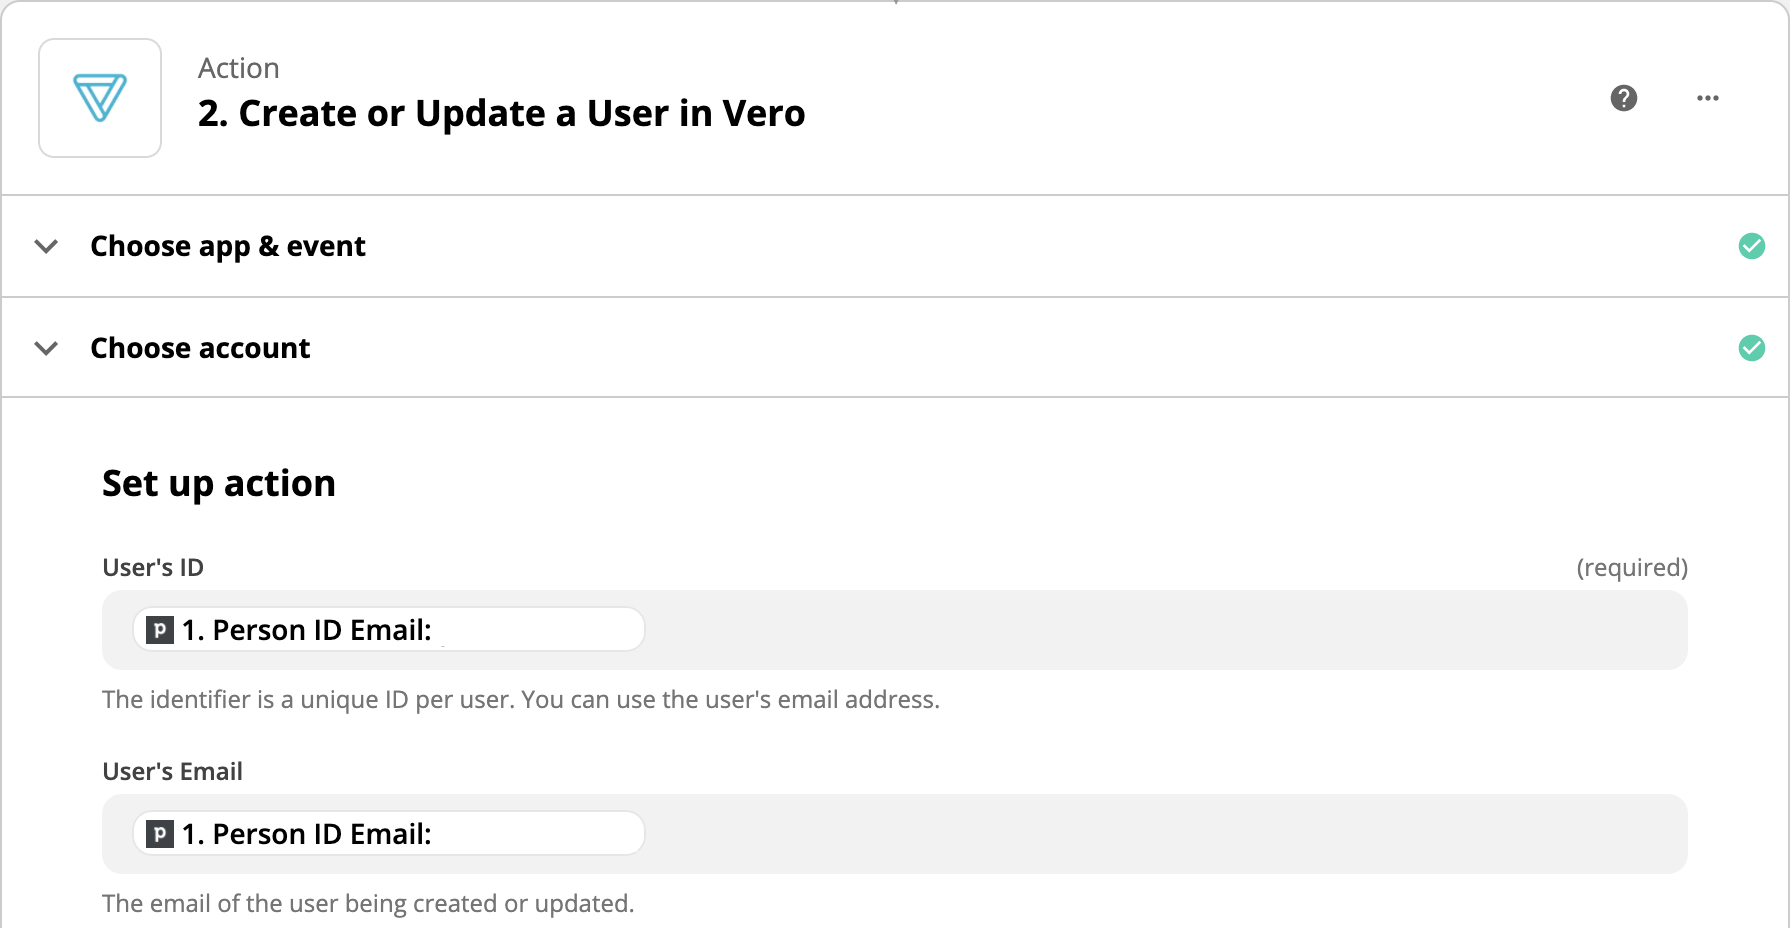
Every action of the Vero Zapier plugin requires that you provide at least a unique customer ID. Some also allow you to provide an email.
Note: the customer's ID must be unique and many Vero customers simply use the customer's email for the ID field. These are used to identify and update the customer’s profile in Vero.
Mapping email in Zapier:
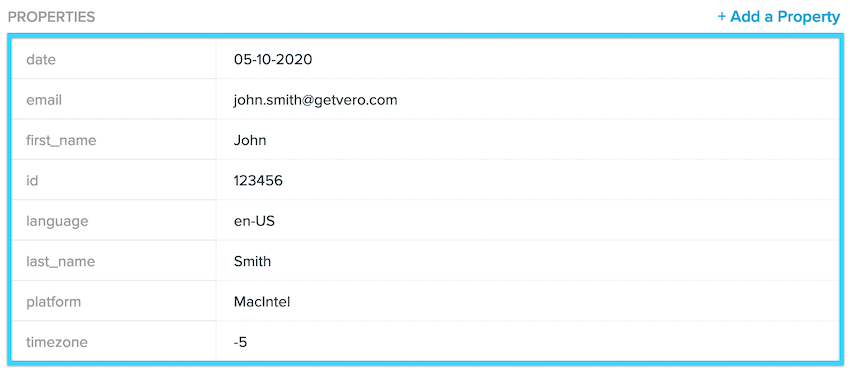
Result in Vero:
Create or Update a User
This action adds or updates a user's profile in Vero. After providing a customer ID and email (as above) you can provide custom user properties using the fields provided by Zapier. Properties are either added to a customer's profile or updated, if they already exist.

Track an Event
This is possibly the most powerful action available with the Vero Zapier integration. This action allows you to track an event in Vero. This signifies that a customer has done something. An example might be to trigger the event Help ticket received when a customer emails your help desk in Help Scout. To do this, you’d name the event you want to capture as so:

You can also capture event properties when you track an event. Event properties can be inserted into emails or used for further segmentation. To do this, you can add the properties you want to track with the event using the Zapier form. Here’s an example:

Unsubscribe User or Resubscribe User
This simple action allows you to unsubscribe or resubscribe a user in Vero. Simply provide their ID and the user will be unsubscribed or resubscribed as soon as this action is triggered.
Update User's Tags
This action allows you to add or remove tags from an individual user profile in Vero. Each user in Vero can have multiple tags. Tags are often used to give you the power to create manual segments or to record a customer’s preferences.
To add or remove tags, simply use the Zapier form to record the tags you want. You can add and remove as many tags as you wish.
Note: If a user does not have a tag and you remove it, nothing will happen. This is totally fine!

Zapier "Triggers"
Vero currently provides nine triggers that you can use to drive actions in other Zapier plugins. If you wish the Vero Zapier plugin had extra triggers, drop us a line at support@getvero.com.
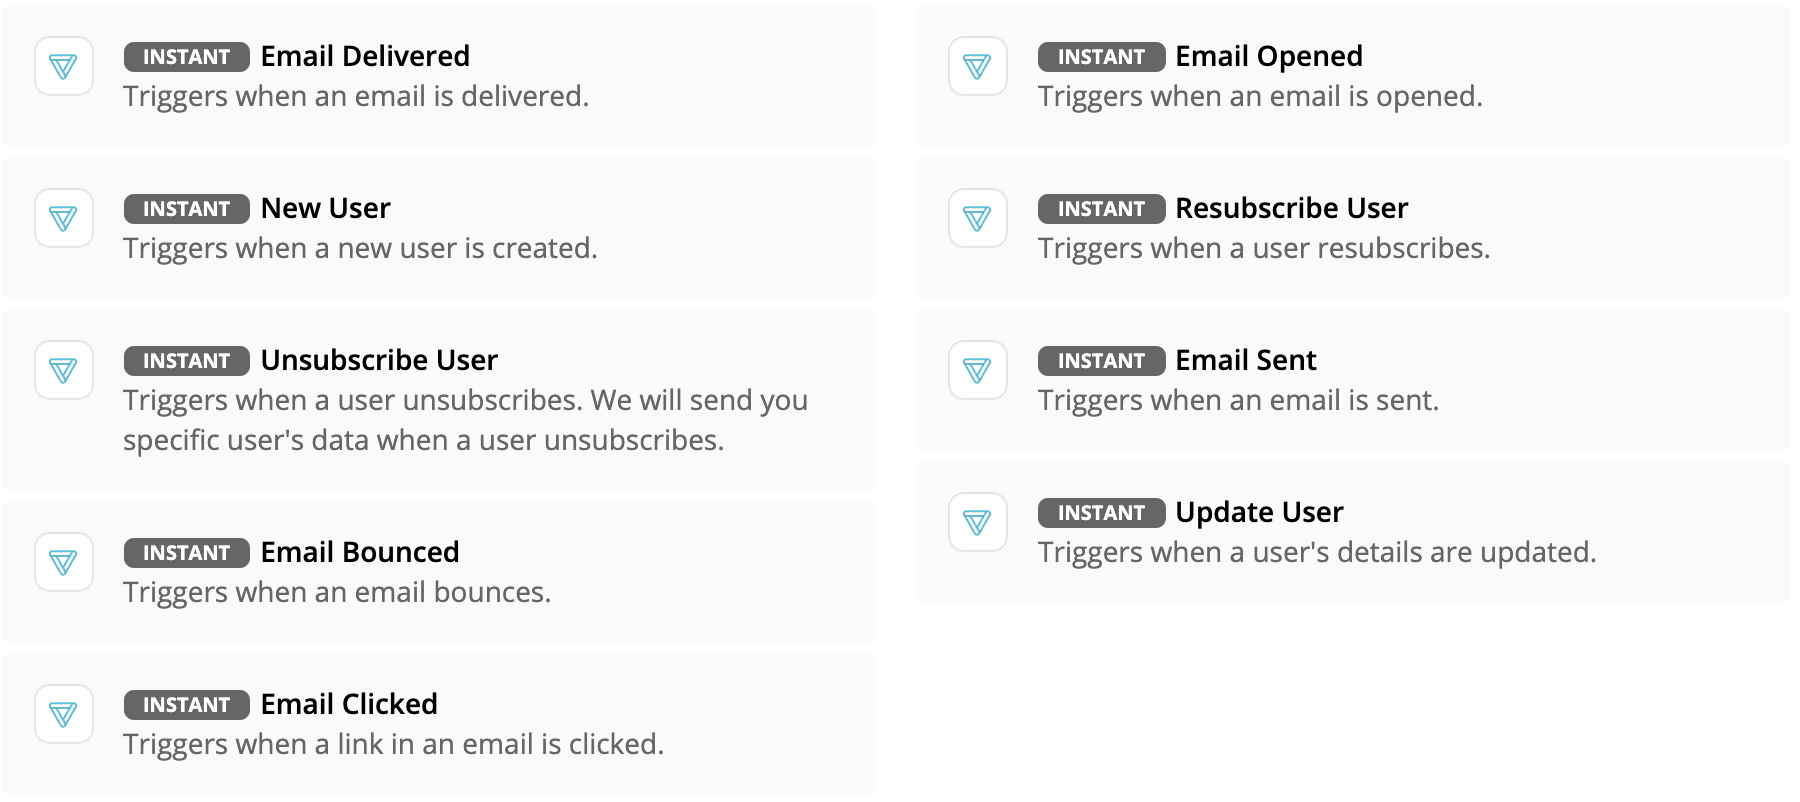
Update User
Whenever a customer profile in Vero is updated (via CSV, via our API, via the update and tags calls, etc.) this trigger is called. You have access to the full customer and every customer property you have captured in Vero to date.
Email Sent, Delivered, Bounced, Opened and Clicked
These are triggered whenever an email is sent, delivered, bounced, opened or clicked in Vero.
Unsubscribe User or Resubscribe User
Triggered when a user unsubscribes or resubscribes in Vero, whether via an unsubscribe link, the Vero UI or the Vero API. We provide access to the email of the user along with this trigger.


