Delay node
Pause a user’s progress through a Journey until the right moment — for a fixed amount of time, until a date or time stored on the user or event, or until a specific time of day in the customer’s own timezone. A Delay node holds users at a point in the Journey before they move on to the next node. Use delays to control the timing of your messages — for example, waiting 3 days after a welcome email before sending a follow-up, holding a reminder until the day of an appointment, or sending a “good morning” message at 8am in each customer’s local time.Adding a Delay node
- Open your Journey and click Edit Journey to access the canvas.
- Click the + button at the point in your Journey where you want to add a pause.
- Select Delay from the node menu.
- Click the Delay node on the canvas to open the side panel.
Configuring the delay
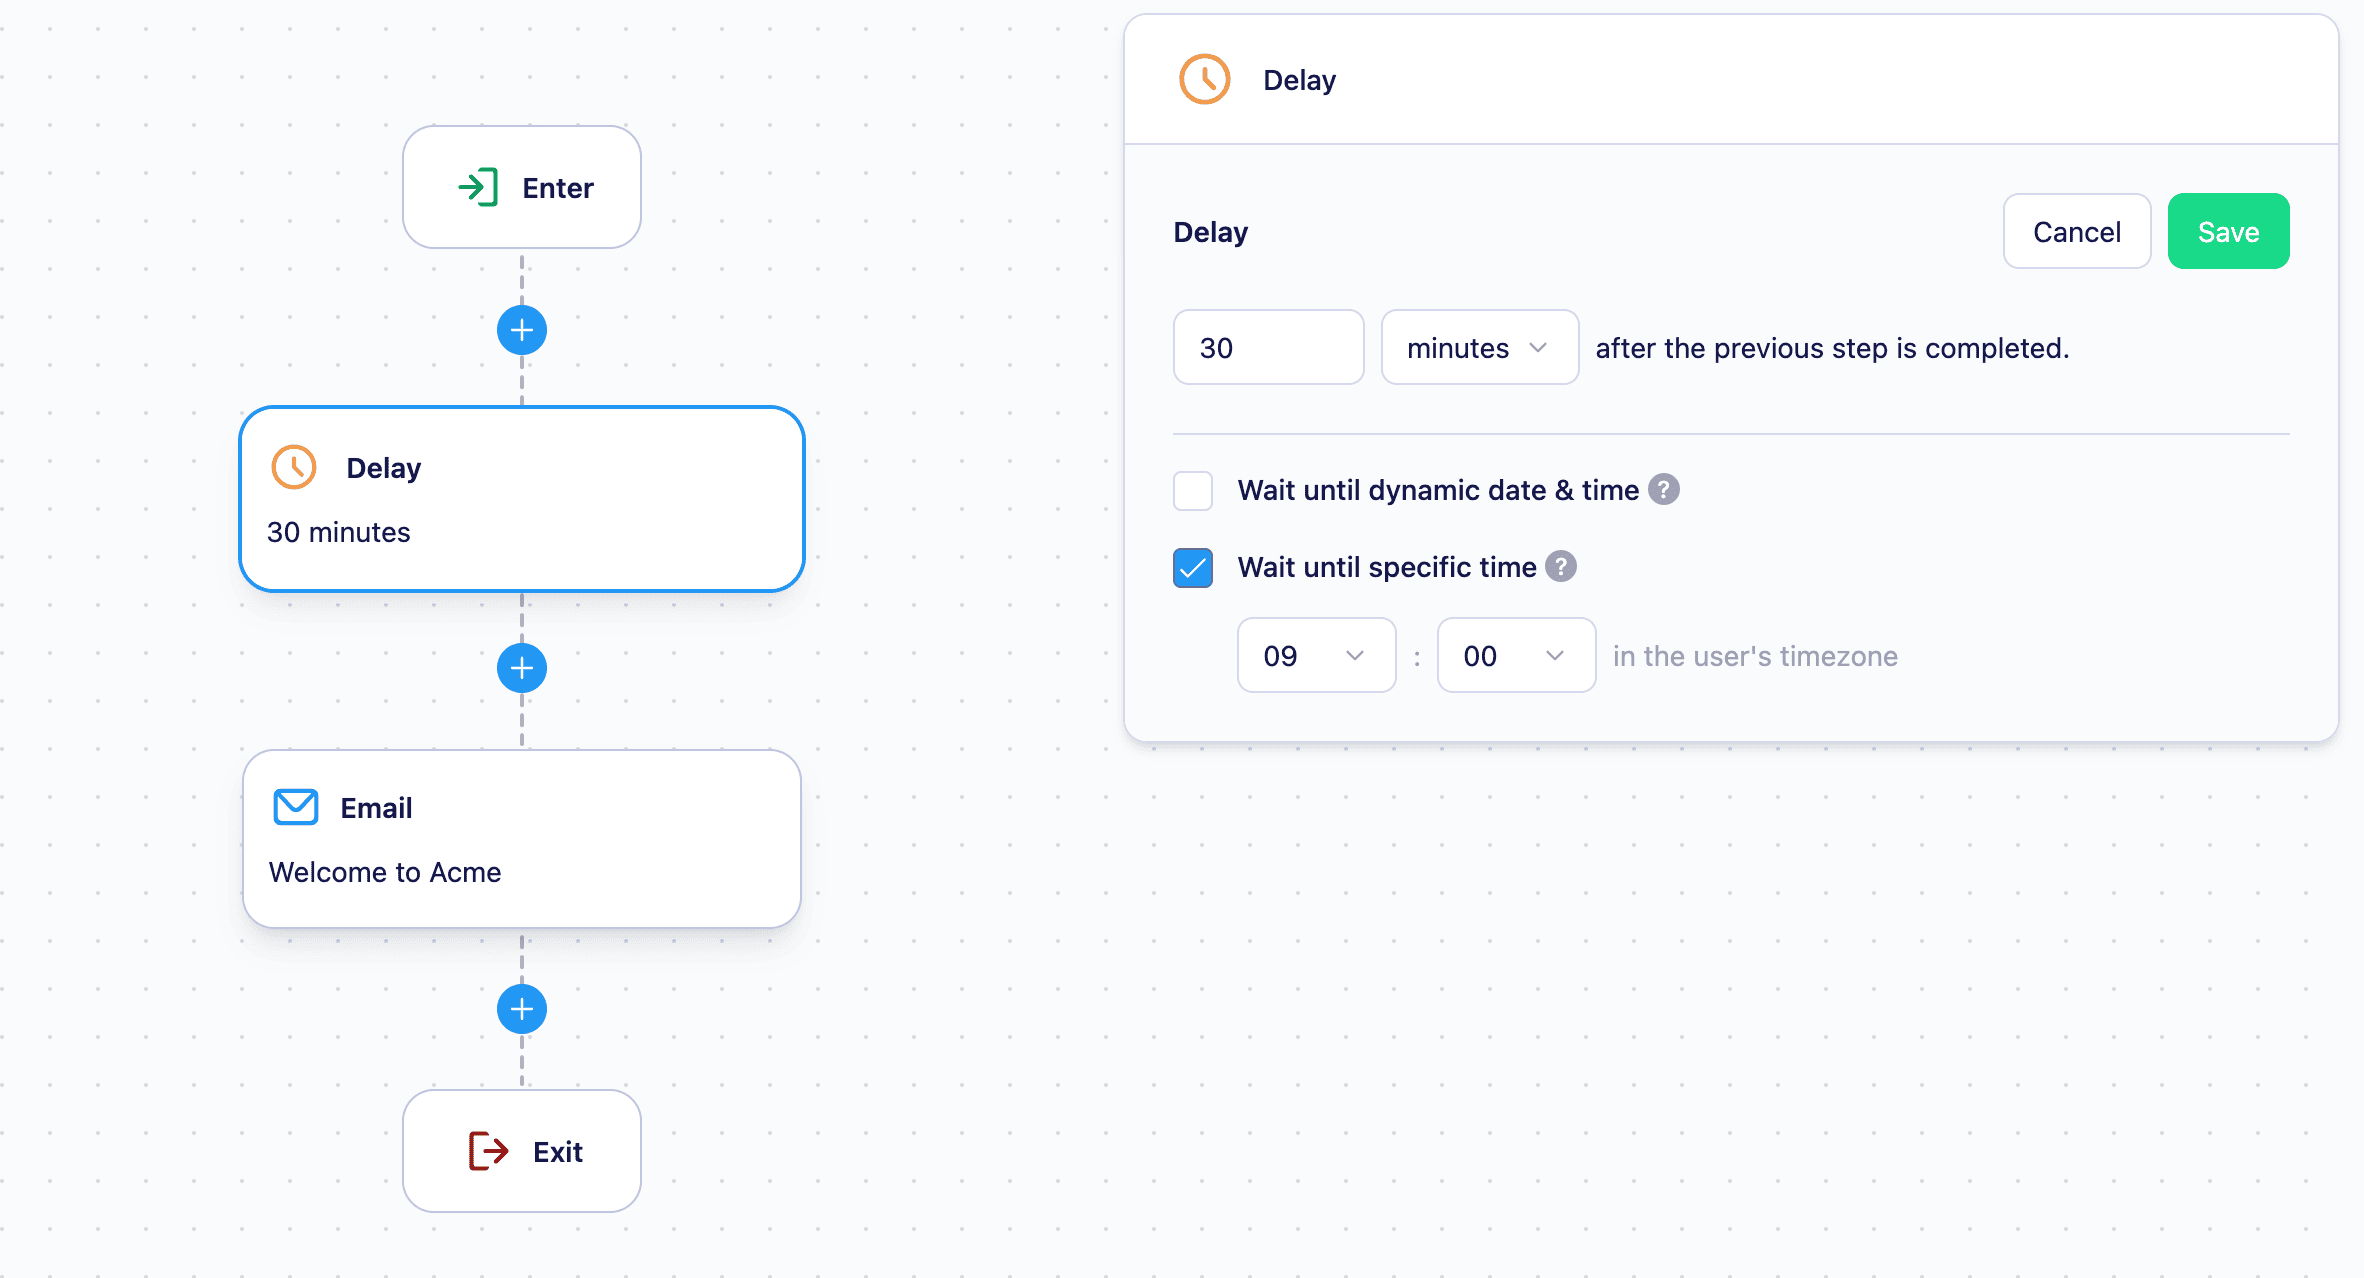
Open the Delay node’s side panel and click Edit to choose how the wait is calculated. There are three options: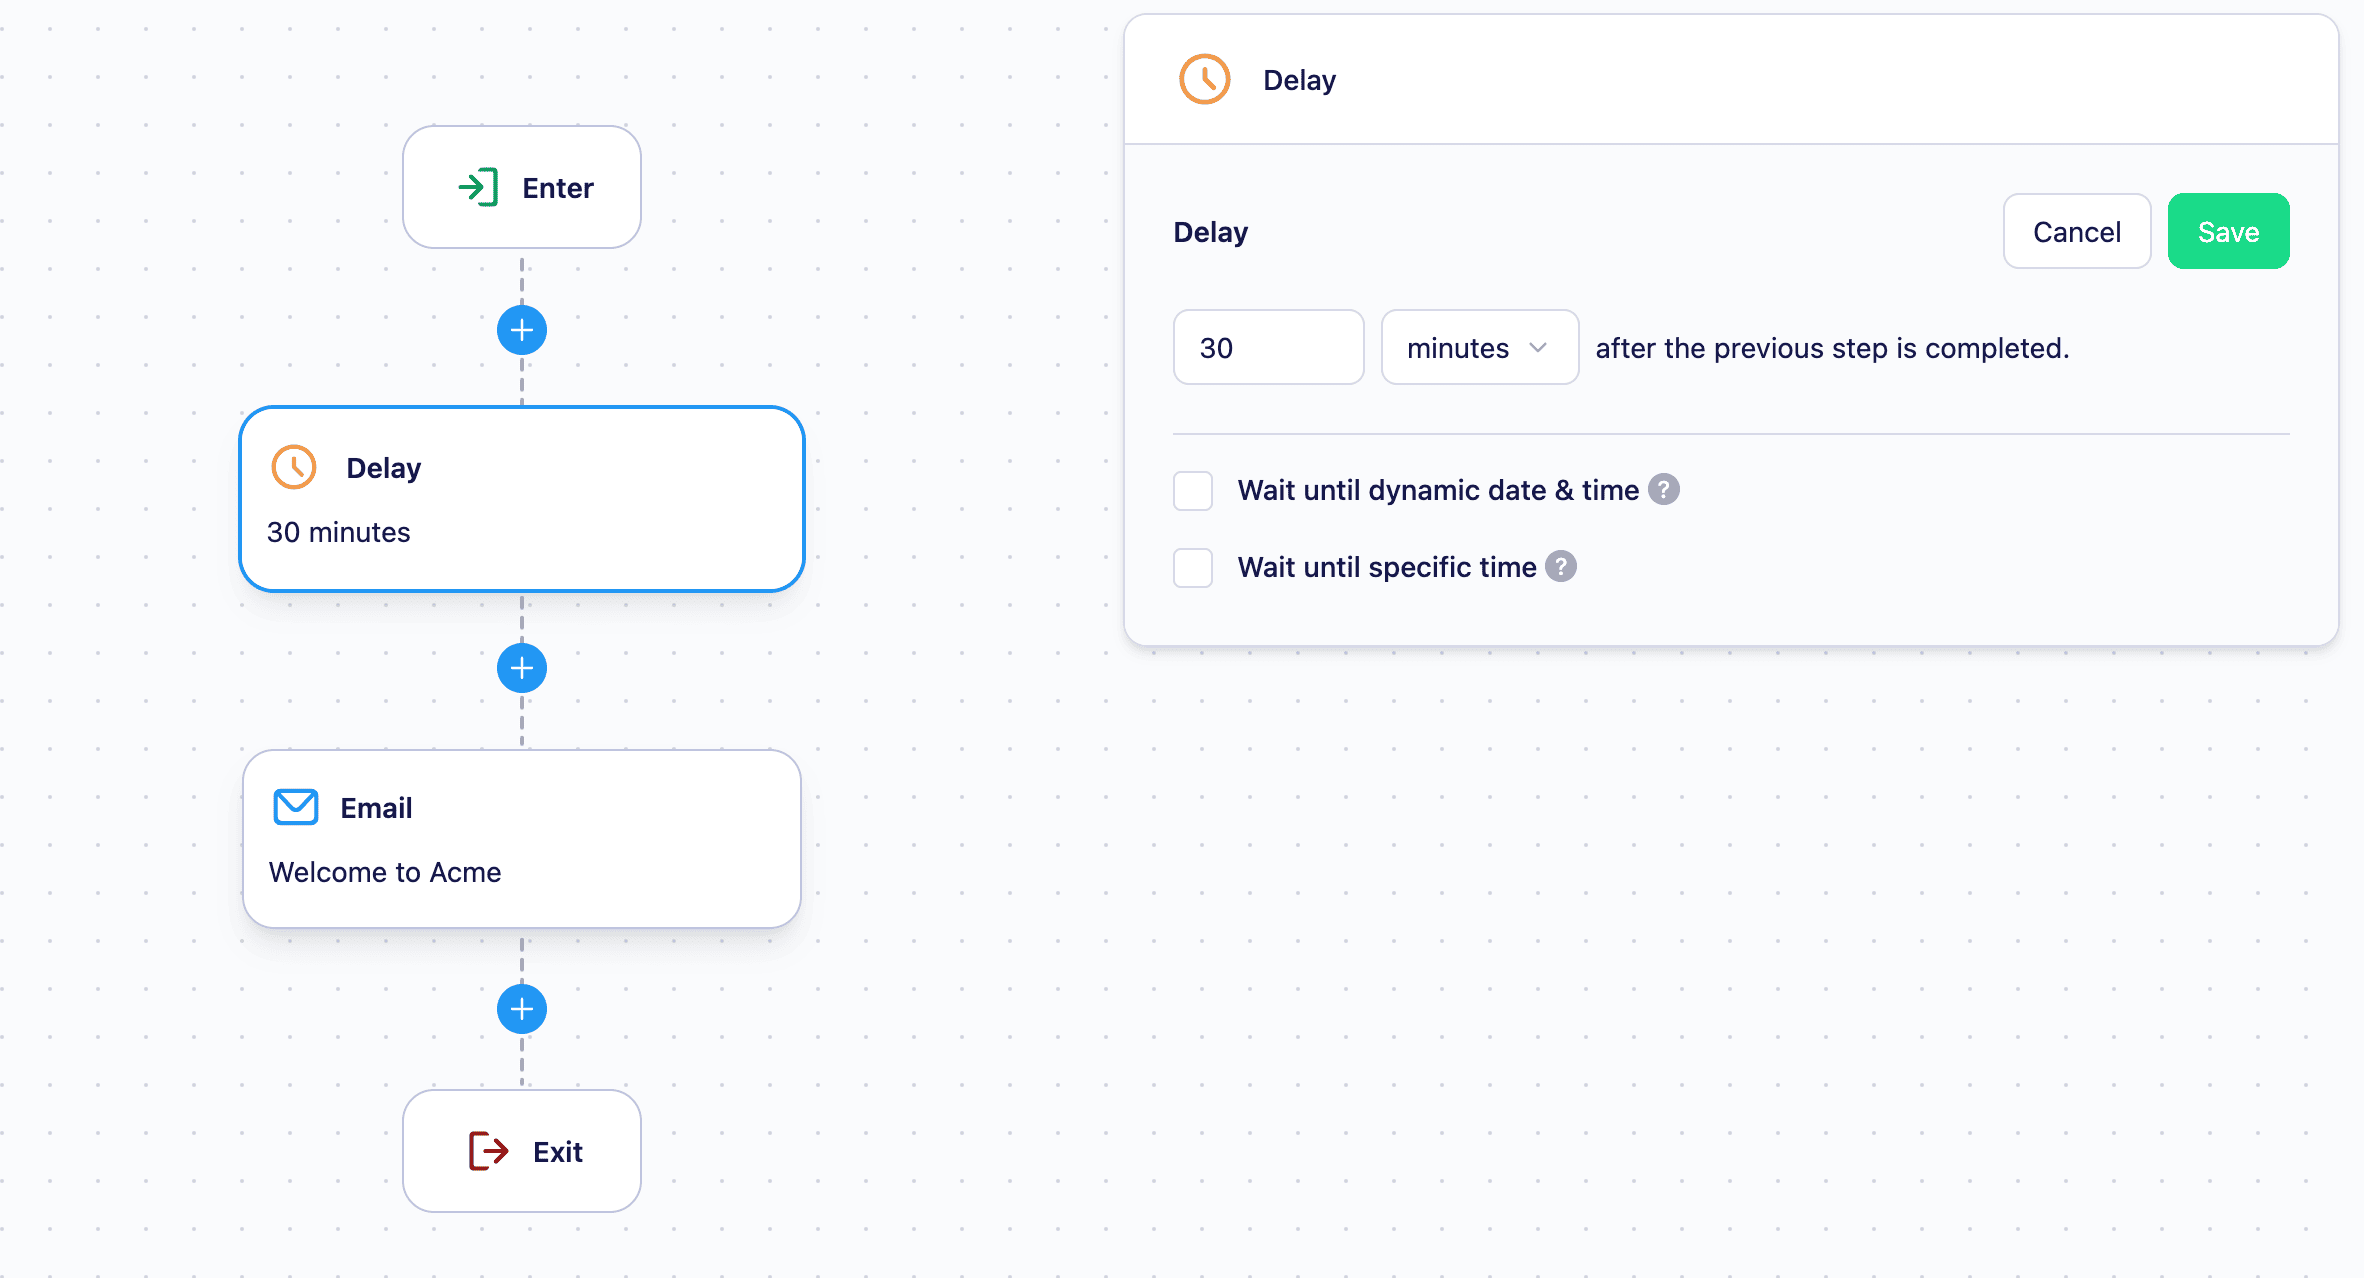
Wait for a fixed duration
Hold the user for a set amount of time, measured from the moment they reach the node. Specify the duration in:- Hours — e.g. wait 6 hours
- Days — e.g. wait 3 days
Wait until a specific time of day
Wait until a dynamic date or time

- A user property — data stored on the user’s profile. See Add or update user profiles for how to send this data to Vero.
- A trigger event property — data sent with the event the user triggered to enter the Journey. See Setting up event tracking for how to send event data to Vero.
How delays work
Users who are actively waiting at a Delay node are counted in the Currently in journey metric on the Journey canvas. Once the wait is complete, Vero automatically moves each user on to the next node — no manual action is required.If you stop a Journey while users are waiting at a Delay node, those users will remain paused. They will continue when the Journey is restarted, picking up from where they left off.
Limitations
- The maximum fixed delay duration is 365 days.
- Journeys must be stopped before you can add or remove Delay nodes.
Next steps
- Creating and editing a Journey — how to build and launch a Journey
- Email node — send an email at a point in the Journey
- SMS journey node — send an SMS at a point in the Journey