email address when they reach that point in the Journey. You can compose the email directly in the node using the drag-and-drop editor or HTML, and personalise the content with Liquid merge tags.
Adding an Email node
- Open your Journey and click Edit Journey to access the canvas.
- Click the + button at the point in your Journey where you want to send an email.
- Select Email from the node menu.
- Click the Email node on the canvas to select it and open the side panel.
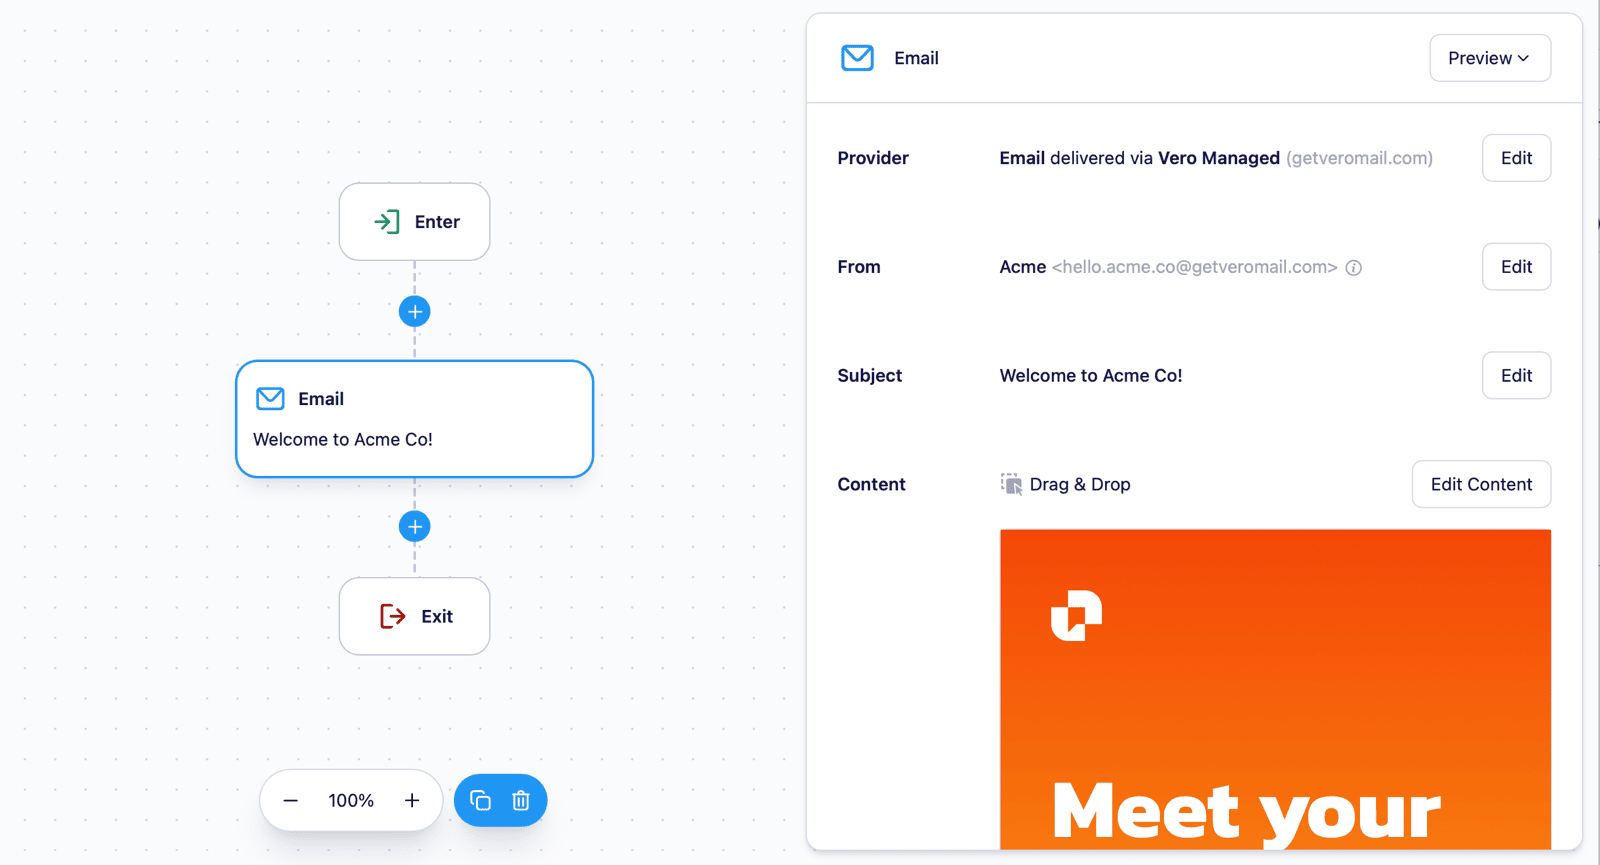
Configuring the Email node
From address
Select the from email address to use for this message. If you have multiple sending addresses configured, you can choose which one applies to this node. See Manage ‘from’ & ‘to’ addresses for details on adding sending addresses.Subject and preview text
Enter a subject line for the email. Check Preheader to add preview text — the short line of copy that appears beneath the subject line in most email clients. You can personalise both the subject and preheader using Liquid. For example:Hi {{ user.first_name }}, here's your weekly update.
Email body
Choose between four editors:- Drag and Drop — a visual WYSIWYG block editor for building emails without code. Drag content blocks onto the canvas or start from a template.
- HTML — write or paste raw HTML for fully custom, responsive email templates.
- Rich Text — a simple text editor for composing formatted emails using familiar text-editing controls, without writing code.
- Plain Text — a plain text email with no formatting, images, or HTML.
Personalising with Liquid
Use Liquid merge tags anywhere in the subject, preheader, or body to insert dynamic content:{{ user.first_name }}— a property from the recipient’s user profile{{ event.property_name }}— a property from the event that triggered the Journey
Reporting
Each Email node displays delivery stats directly on the canvas for live or stopped Journeys:- Sent — messages dispatched to the email provider
- Delivered — messages successfully delivered to the recipient’s mailbox
- Opened — recipients who opened the email
- Clicked — recipients who clicked a link in the email
- Converted — recipients who completed a conversion event after receiving the email
- Unsubscribed — recipients who unsubscribed via this message
Limitations
- Emails are only sent to users who have an
emailaddress stored in their profile. Users without one will skip the node and continue to the next step in the Journey. - Journeys must be stopped before you can add or remove Email nodes.
Next steps
- Email content — full guide to the drag-and-drop and HTML editors
- Personalise content with Liquid — dynamic content reference
- Creating and editing a Journey — how to build and launch a Journey