vero-editable to any images, heading, paragraph blocks and other components that you want your team to be able to edit.
Adding editable sections
To make a section of a HTML template editable, simply add the CSS classvero-editable to the HTML element you want to make user editable.
Elements that support vero-editable tags are listed below. We’ve included an example of how you add the class correctly:
- div and td tags:
<div class="vero-editable"> - a (anchor) tags:
<a href="http://casterlyrock.com" class="vero-editable"> - img tags:
<img src="http://casterlyrock.com/tywin-lannister.png" class="vero-editable"> - img tags with surrounding a (anchor) tags. I.e. images that are links:
<a src="http://casterlyrock.com" class="vero-editable"> <img src="http://casterlyrock.com/tywin-lannister.png"> </a>
vero-editable tag. It stores these along with your new campaign so that they can be used for future reference.
NOTE: Elements with the vero-editable class are also required to have some default content.
Using vero-editable templates in a campaign
When you select a starting point for a campaign’s content, anyvero-editable classes present in the selected template will be detected and you will be asked if you wish to use the template as a copy of the HTML or as a Vero Editable template.

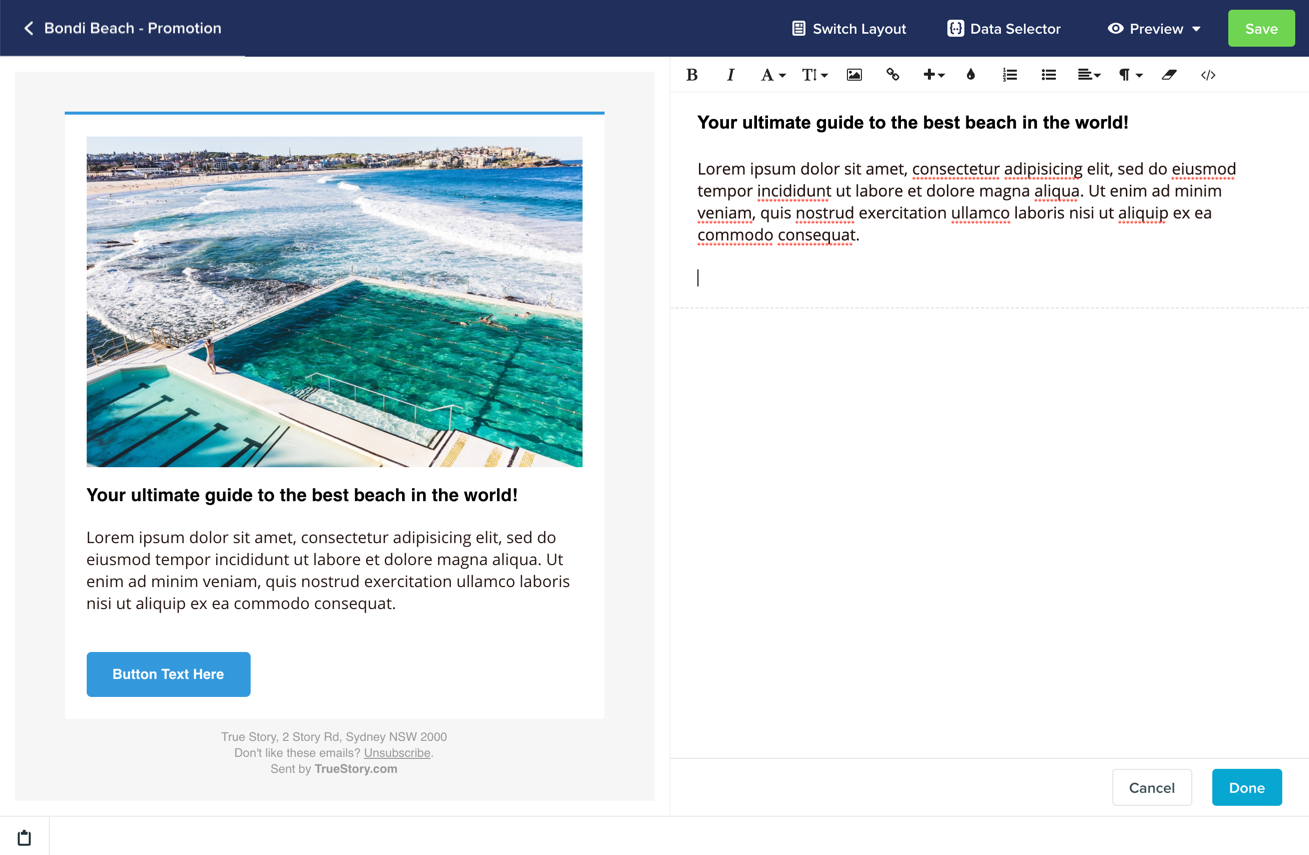
vero-editable will be available for point-and-click editing. Simply hover over the template to see which elements are editable and click to show the editing panel.
Here’s an example of a link tag being edited:
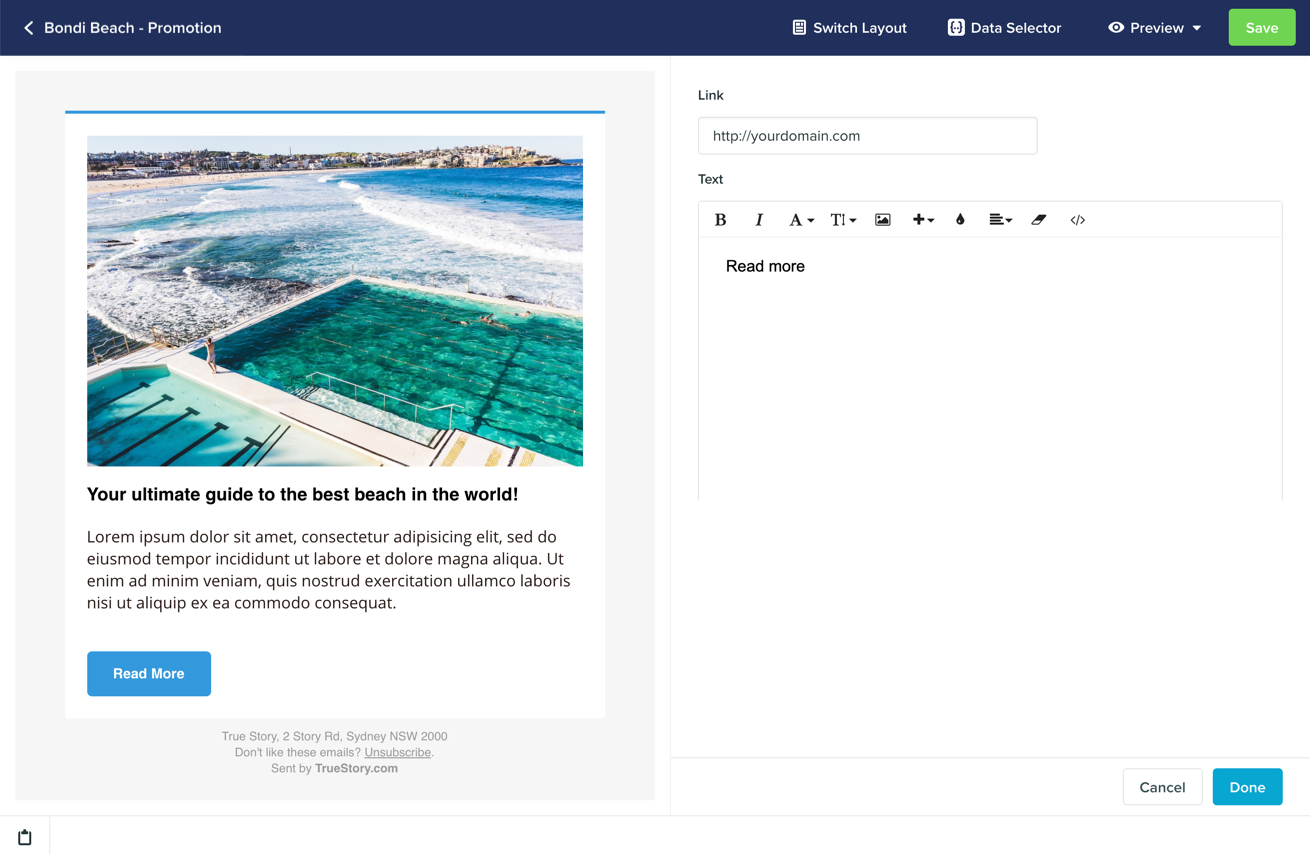
data-vero="ignore" to a link), that’s possible too. Simply select the </> icon and an HTML editor will show up.
Tips to make life easier
There are two rules of thumb when marking editable zones.- Firstly, we don’t recommend putting one vero-editable tag inside another (nesting).
- Secondly, it is better to put
vero-editabletags directly on the desired editable object (e.g. an image), rather than a containing element. This is better than putting lots of different elements inside one bigvero-editableblock (such as a<div>tag).
What happens to my campaigns when I make a change?
When you update a template, Vero will try to automatically apply those changes to any campaigns that inherit from that template. For example, if you have a template with a header and a footer and a single vero-editable block in the middle, Vero will store any changes you make to thisvero-editable section, per campaign. If you update the header, Vero will automatically update all of the child campaigns, merging in the updates along side your own changes to the vero-editable section.