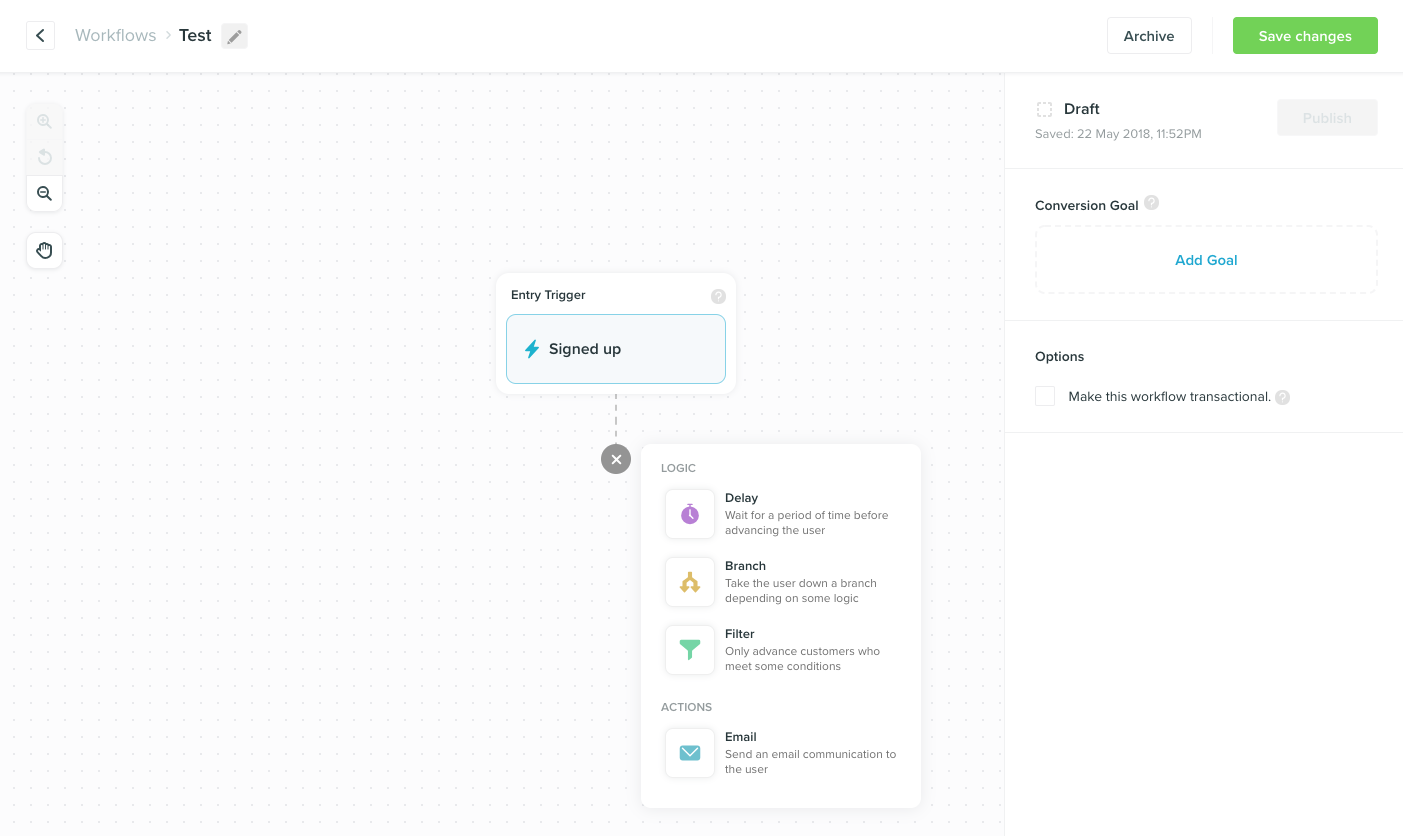
- Select an entry trigger
- Add logic and action steps
- Add a conversion goal
- Save and publish your workflow
1. Select an entry trigger
In order for a customer to enter a Workflow, they must trigger an event. Vero defines events as all the actions a customer takes on your site. It could be everything from signing up for an account, purchasing an item or viewing a page. You can track your customer event data in Vero so that when your customer triggers the specified event they will be entered into the workflow.2. Add logic and action steps
All workflow steps can be easily added and moved around using drag and drop, giving you full control over the order of filters, branches, delays, emails and push notifications. This allows you and your team to quickly create and update your customer journeys.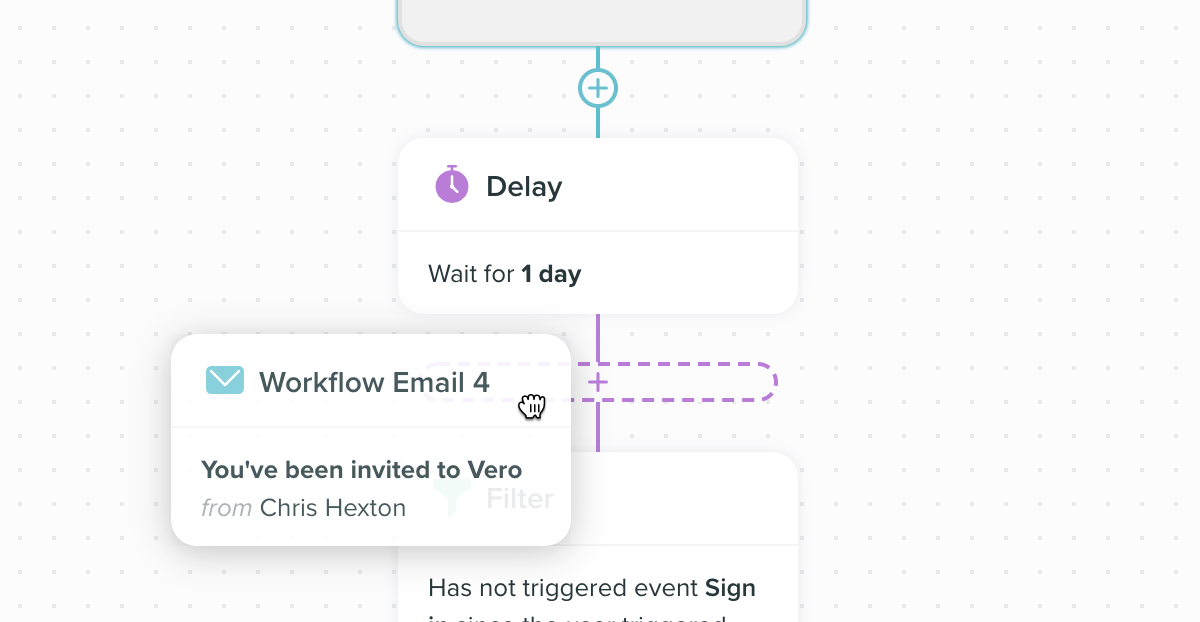
Logic steps:
- Delay
- Branch
- Filter
Action steps:
- Mobile push notifications
3. Add a Conversion Goal
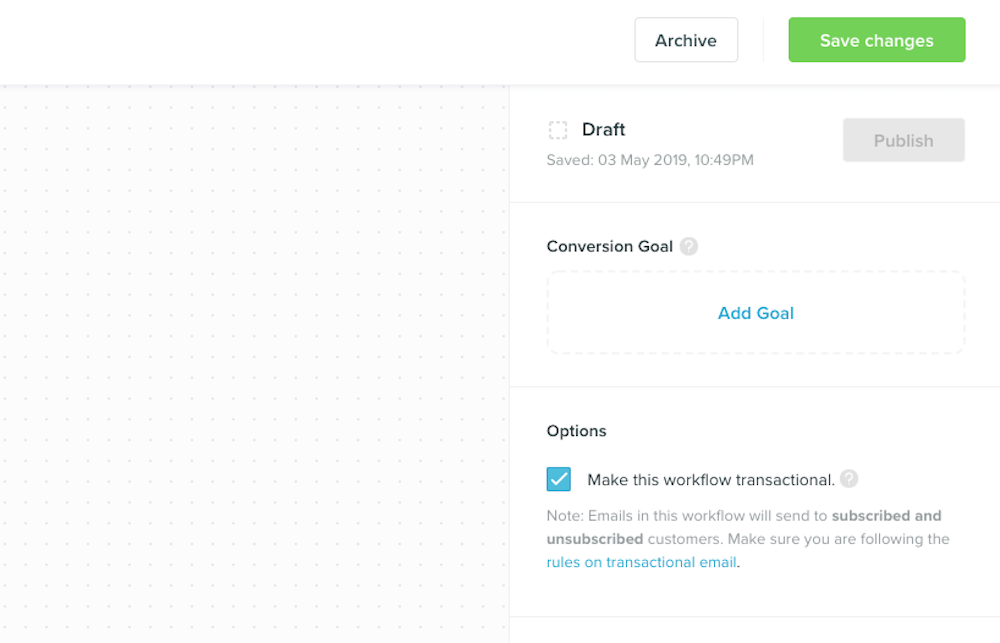
You can measure the overall success of a workflow by adding a conversion goal. A conversion goal is reached when a customer triggers the specified event. By default the goal is tracked for up to 30 days after the contact exits the workflow. If a customer triggers the conversion goal they will continue to progress normally through the workflow. They will not exit the workflow. You can change the goal conversion period via Settings > Advanced.4. Creating a transactional workflow
All workflows are behavioral by default. If you’d like to create a workflow for transactional messages (for example password reset information, invoices or receipts) you can select ‘transactional workflow’ by ticking the box in the side bar.