

Prerequisites
- The preference center enabled on your project – contact us to turn it on.
- At least one topic – see Setting up your preference center.
Adding a topic to a newsletter
- Open a Newsletter.
-
Find the Subscription panel. It shows No topic until one is chosen.
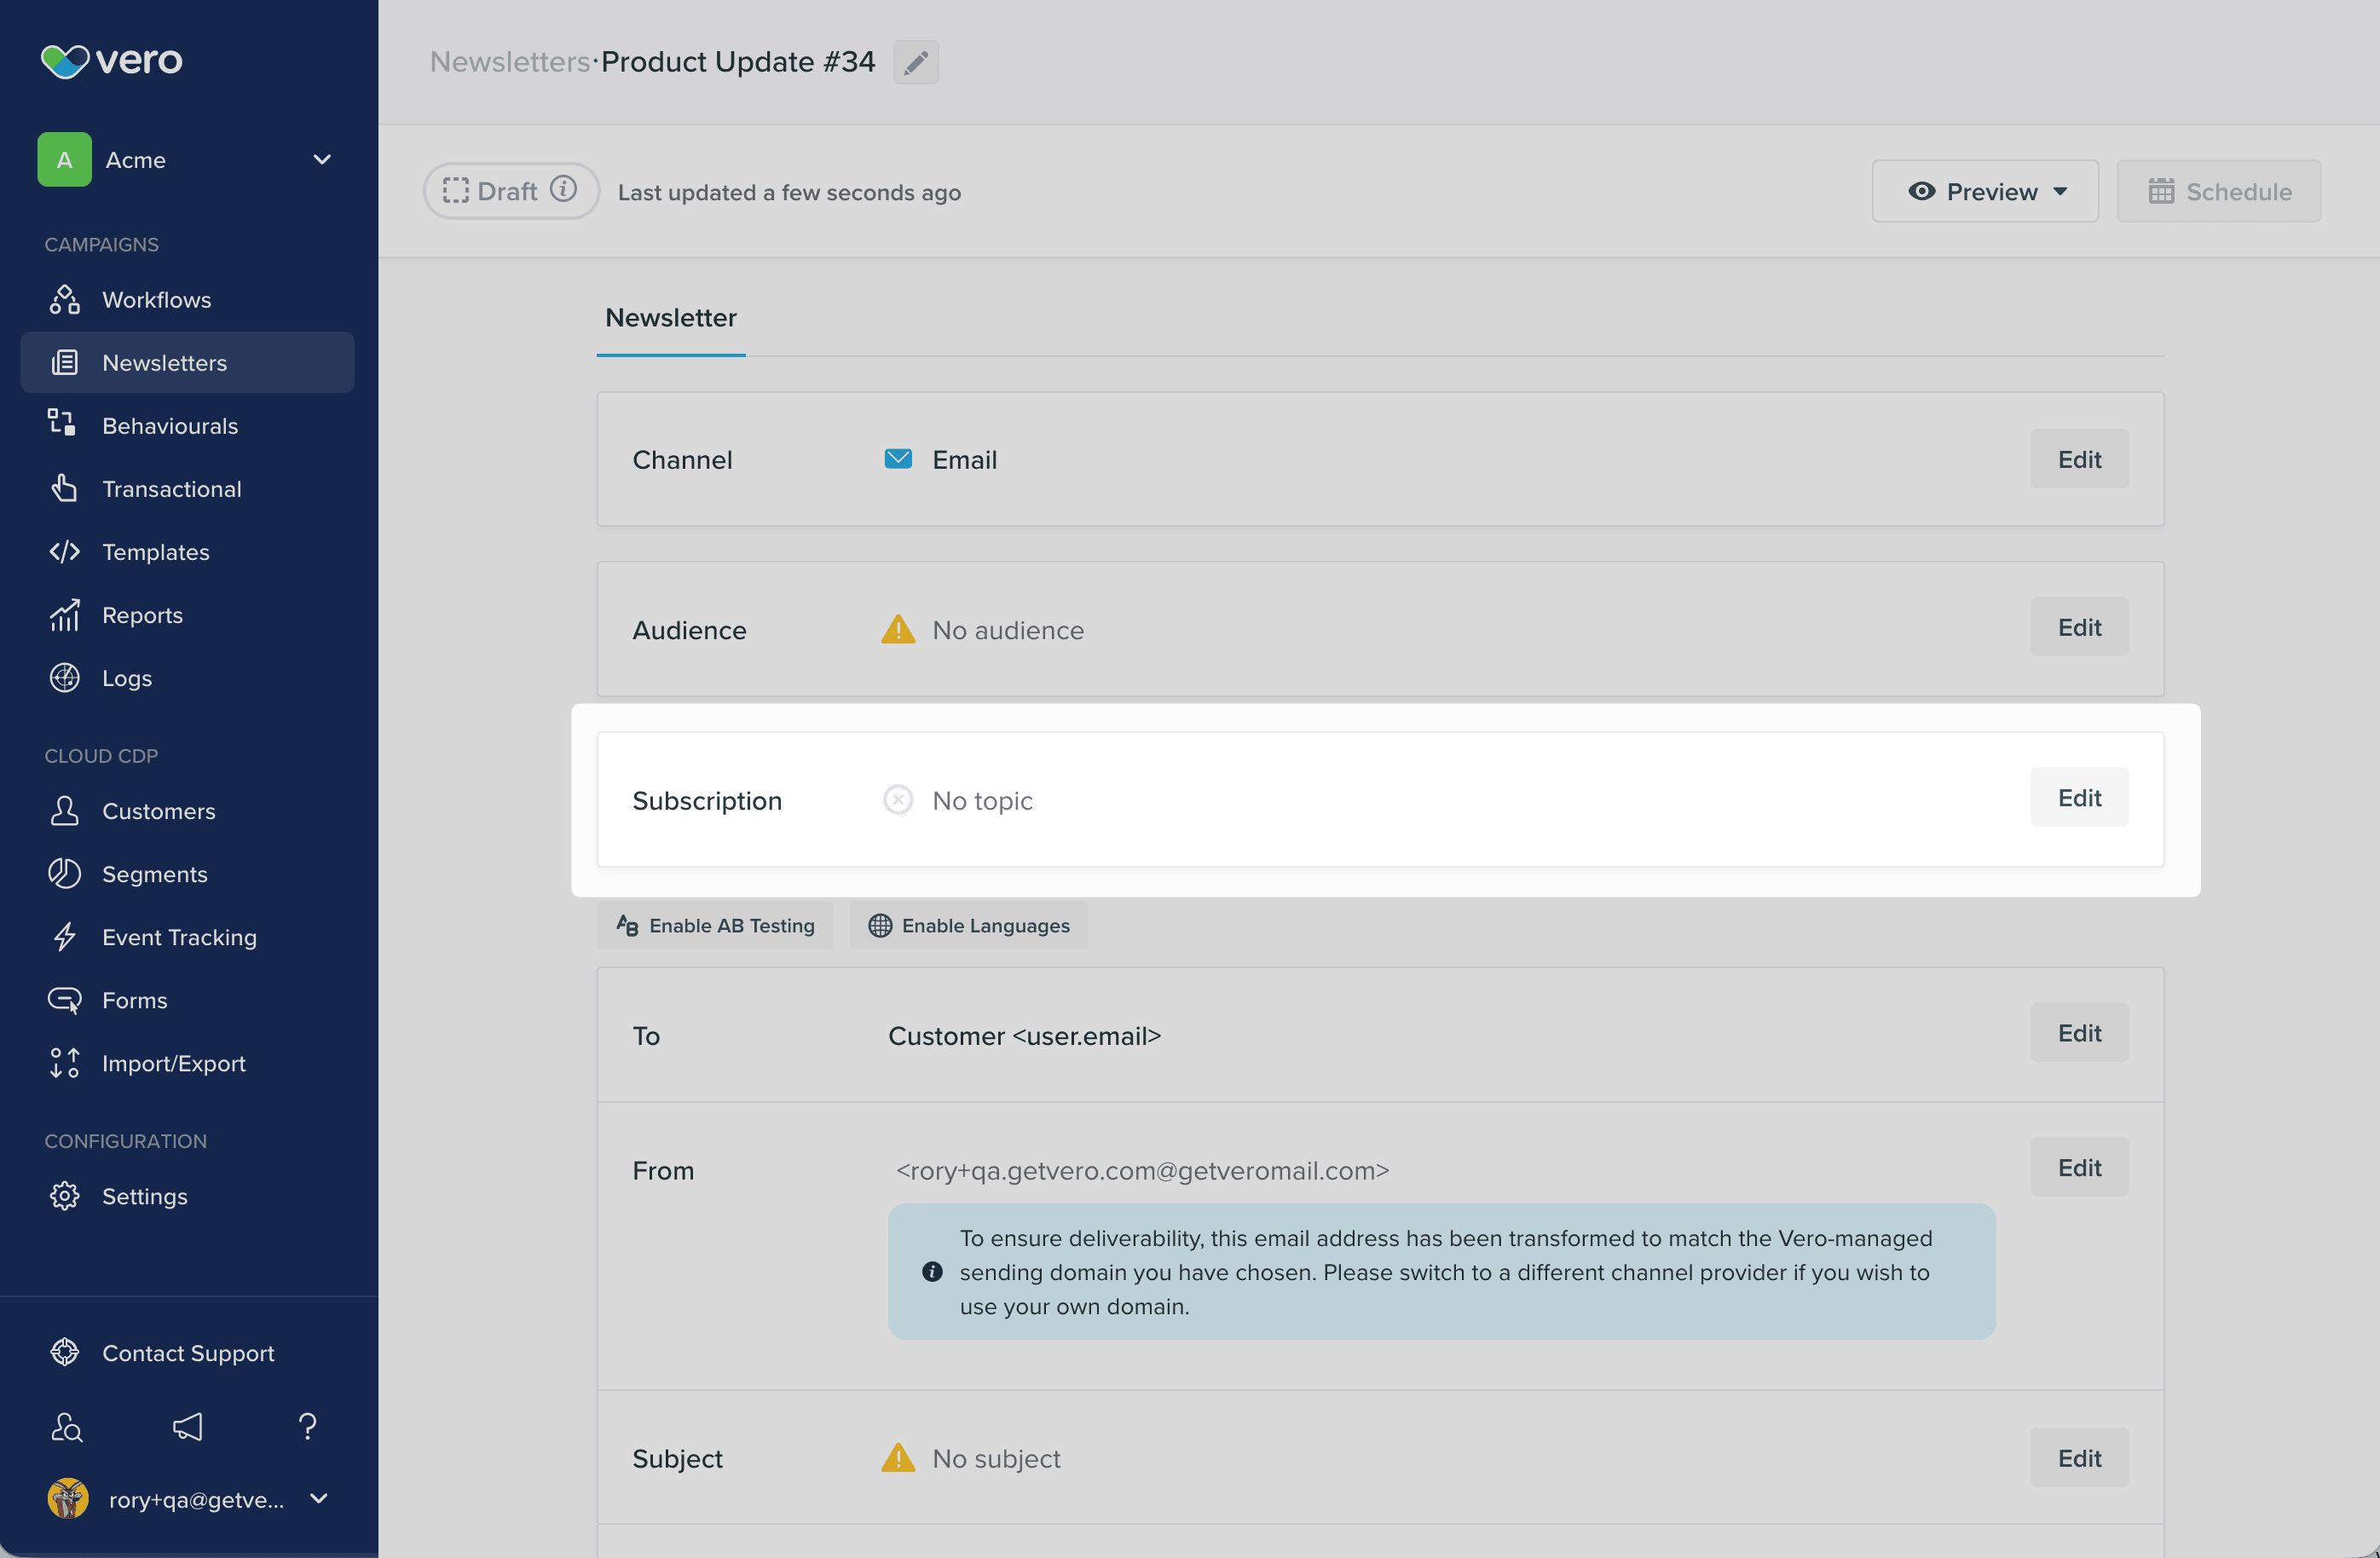
- Select Edit.
-
Under Choose a topic to send this message to, pick a topic from the list. Choose No Topic (All Subscribers) to send to everyone.
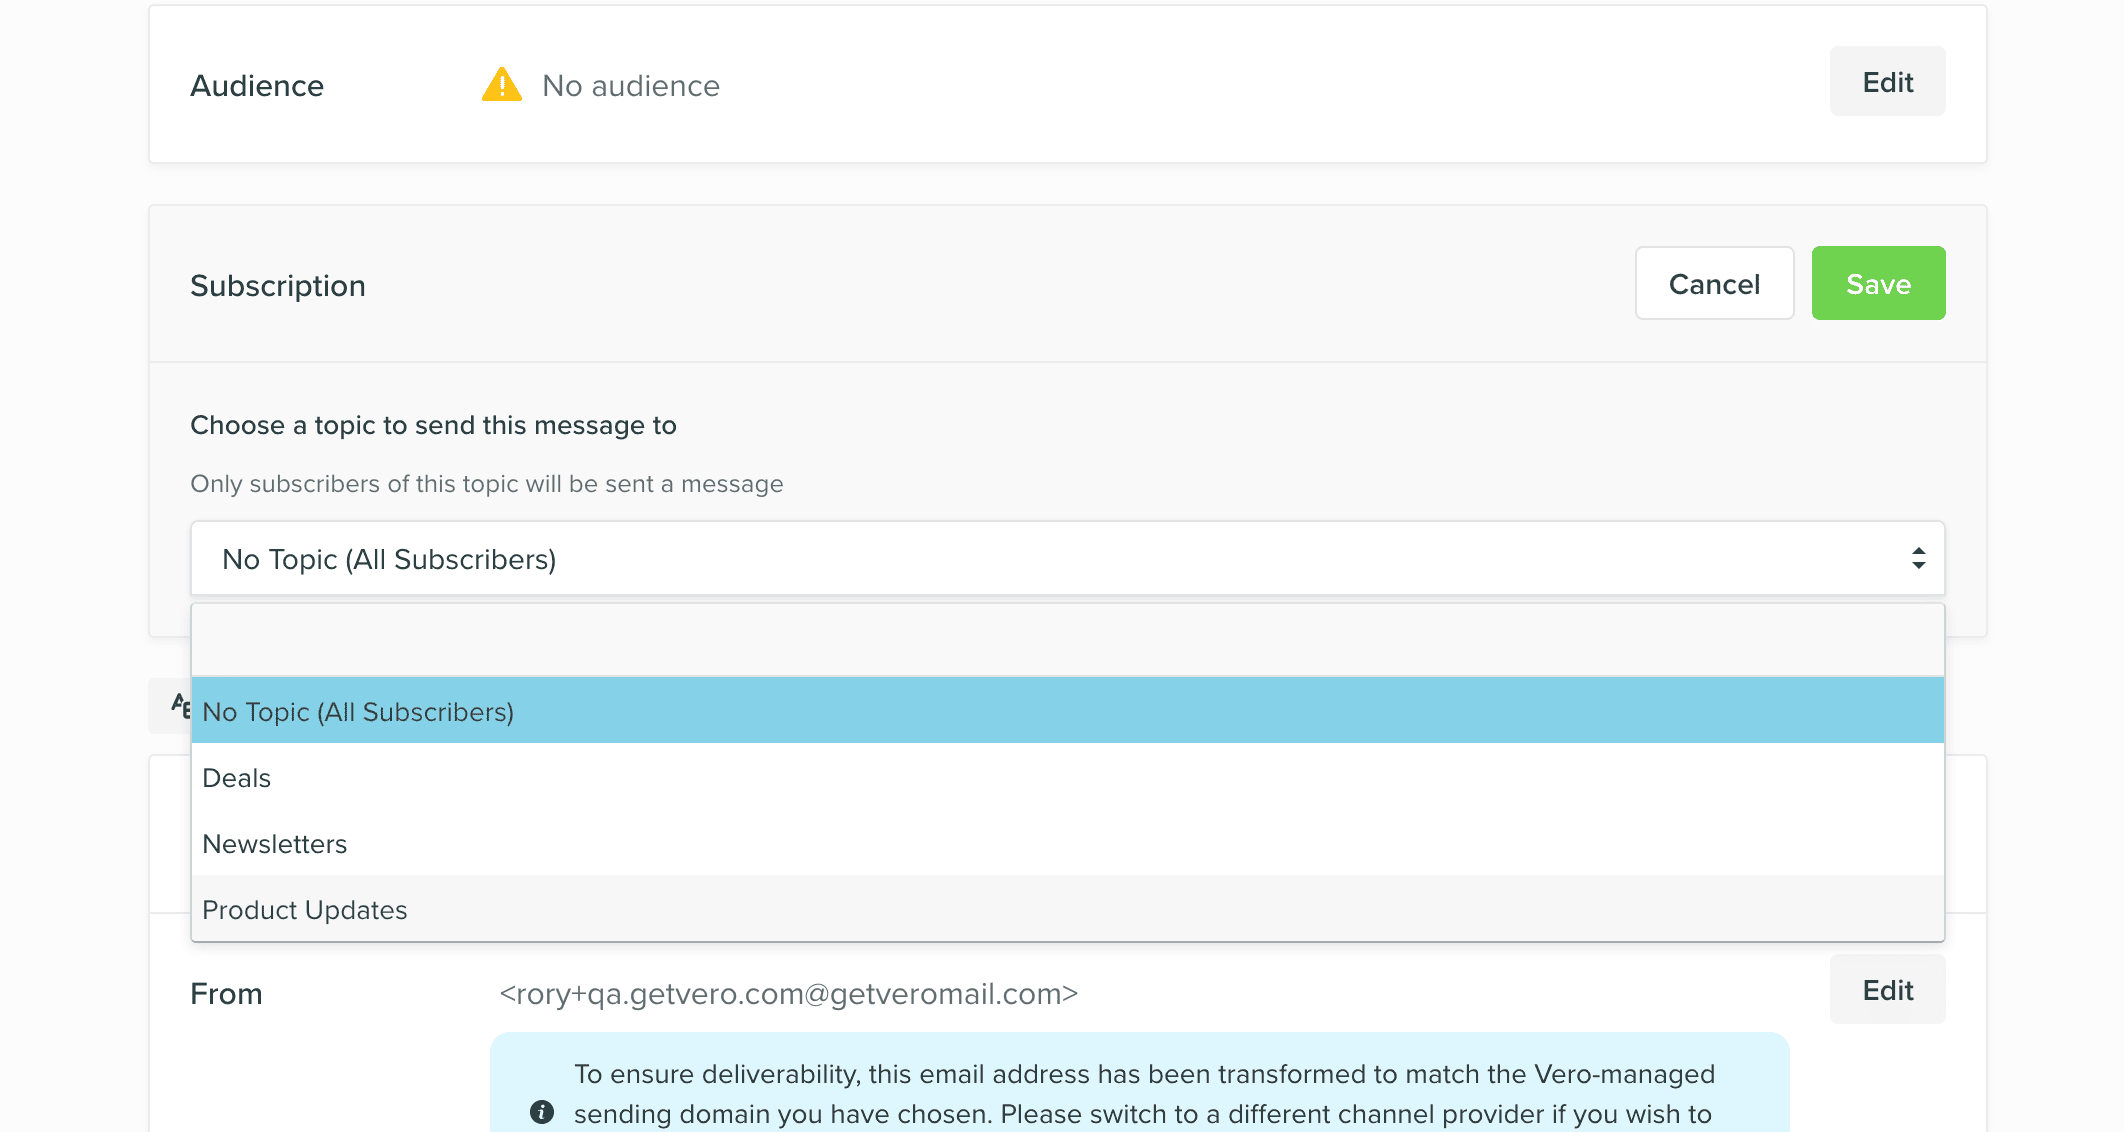
- Save the campaign.
Adding a topic to a workflow
- Open the workflow from the Campaigns menu.
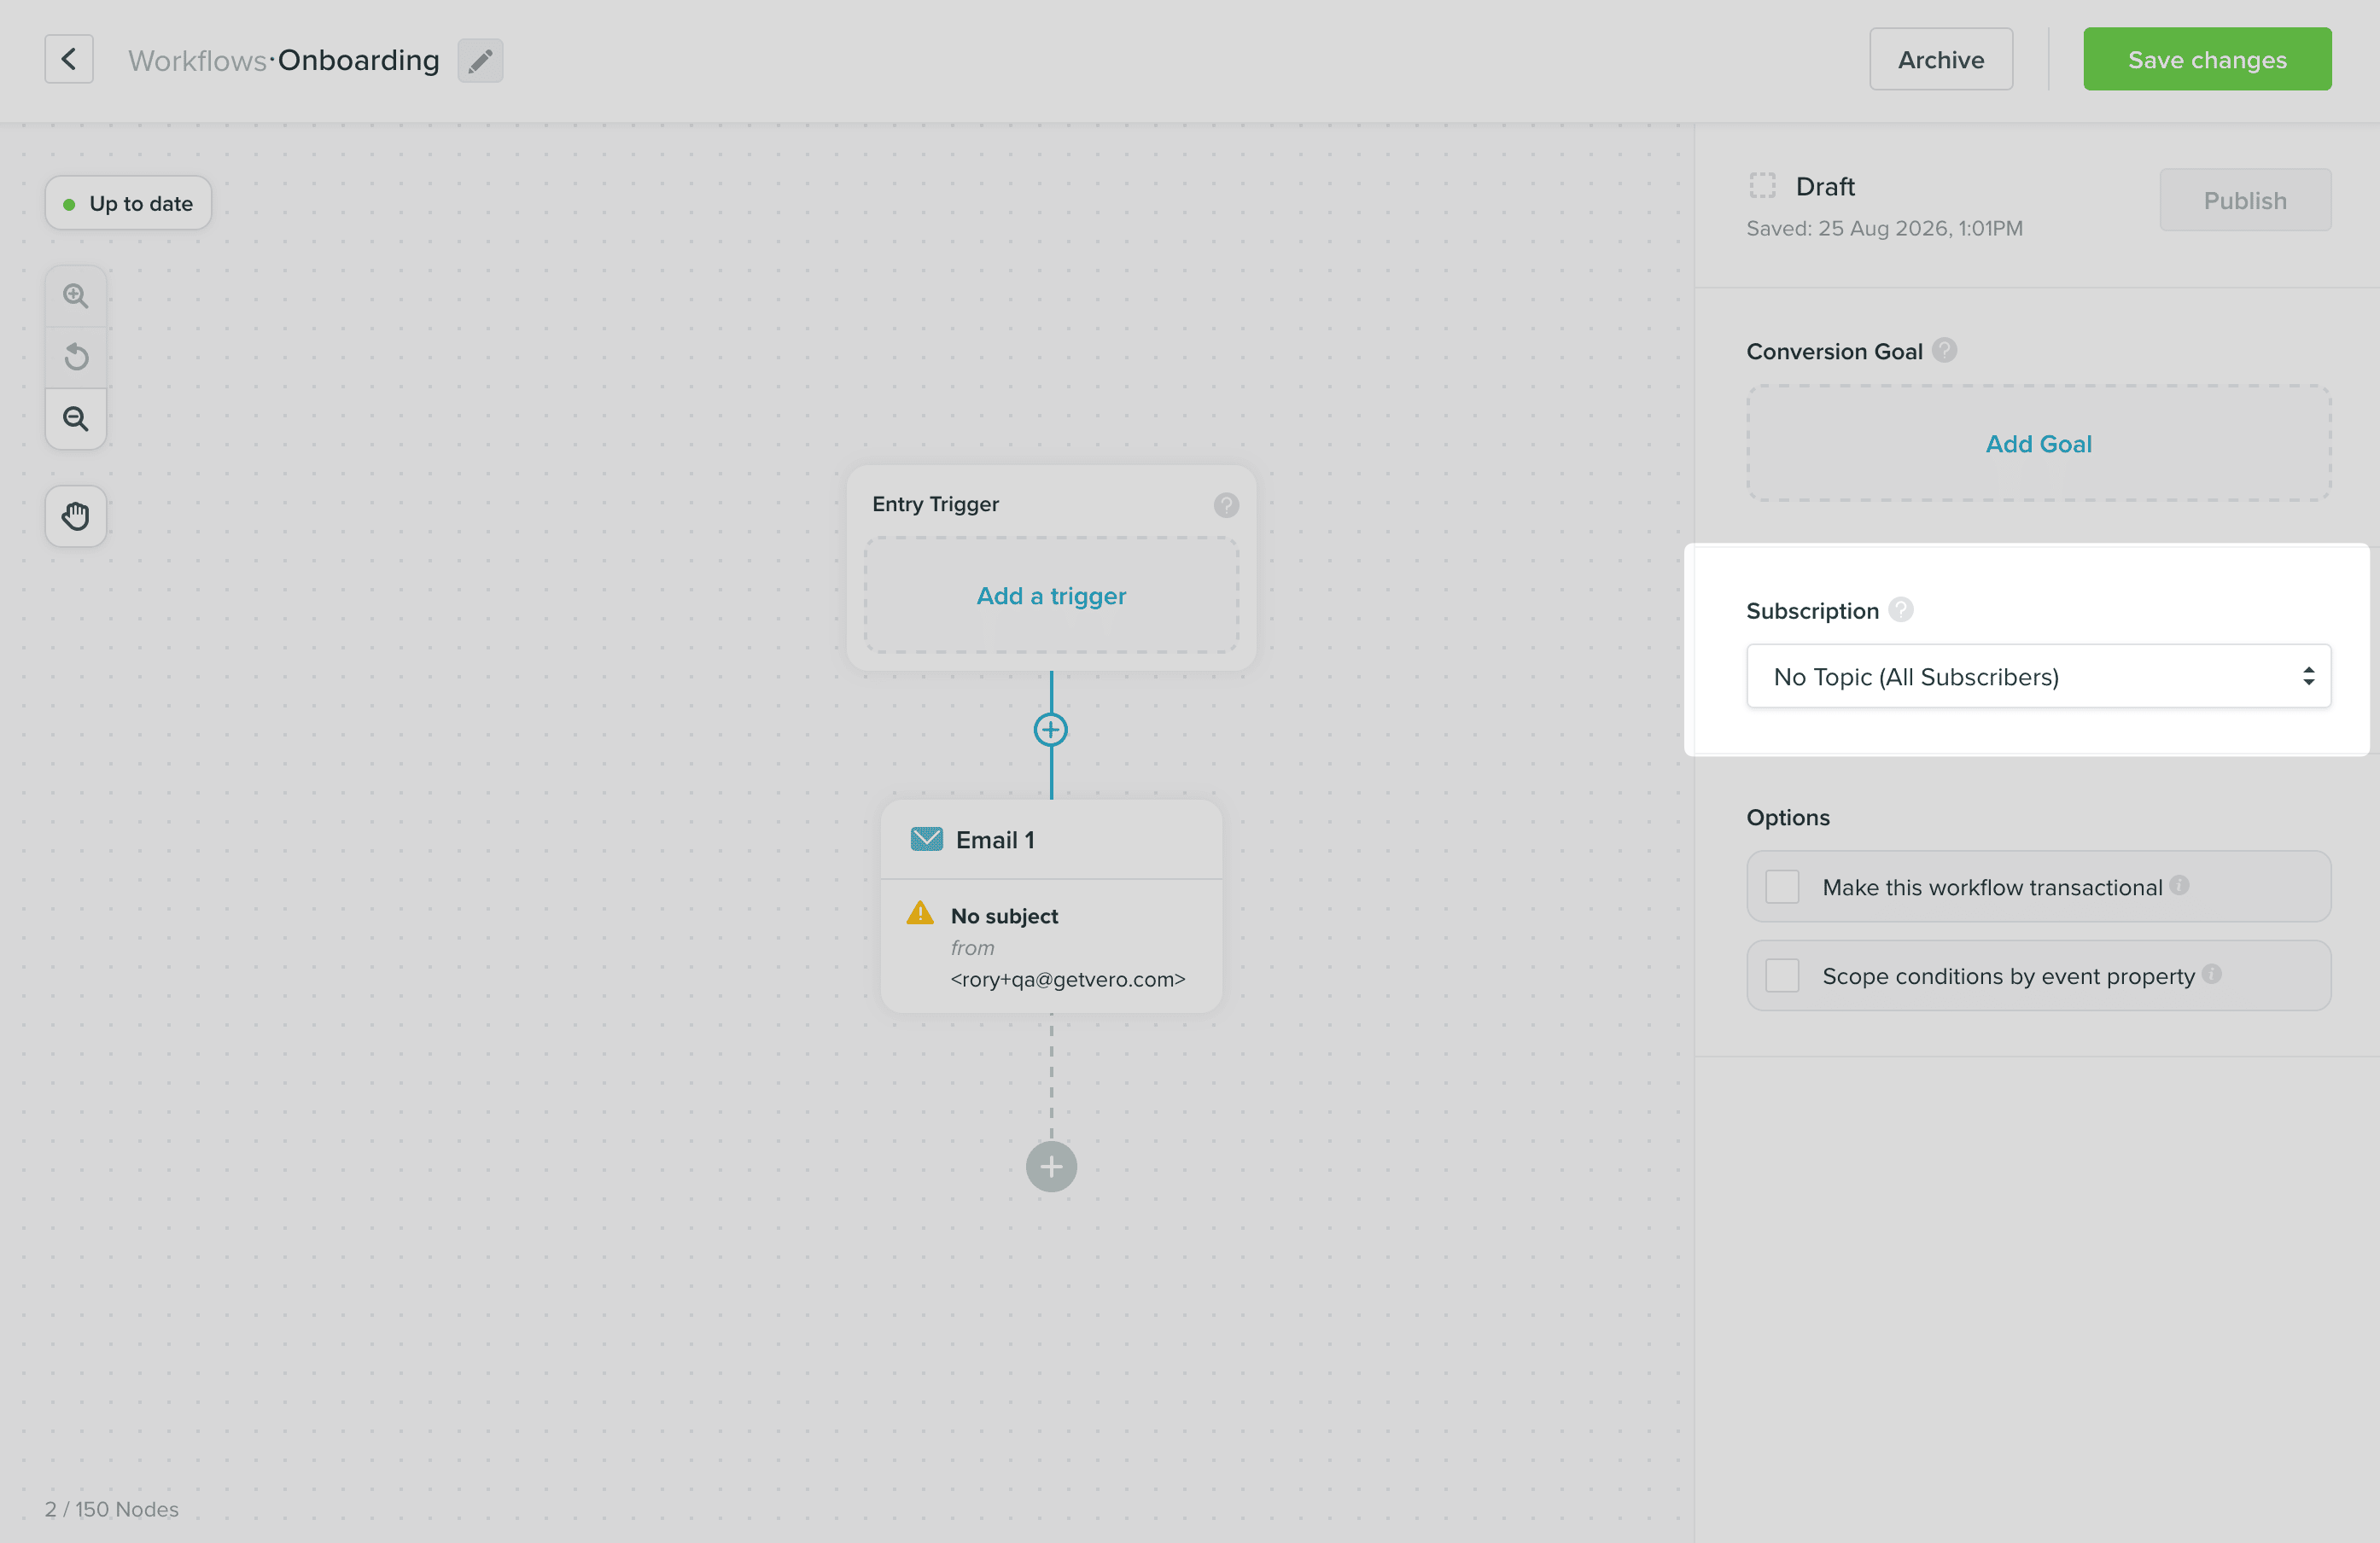
- In the workflow builder sidebar, find the Subscription panel.
- Pick a topic, or No Topic (All Subscribers).
- Save the workflow.
What happens at send time
For each customer in the audience, Vero checks their status for the campaign’s topic:- Subscribed – the message is sent.
- Unsubscribed from the topic – the message is not sent.
- No choice recorded – the topic’s default status decides. A topic defaulting to
subscribedincludes the customer; one defaulting tounsubscribeddoes not.
Assigning a topic to an existing campaign changes who receives it. Before adding a topic to a live workflow, check the topic’s default status: a topic defaulting to
unsubscribed will stop the workflow reaching anyone who has not been explicitly opted in or saved their preferences.Choosing which campaigns get a topic
- Give a topic to anything a customer might want to opt out of on its own — newsletters, digests, promotions, product announcements.
- Leave transactional messages without a topic — receipts, password resets, shipping updates, and anything else a customer needs regardless of their marketing preferences.
Limitations
- A campaign or workflow can have one topic. There is no way to send a single campaign under several topics.
- The Subscription panel is only shown once the preference center is enabled on your project.
- Topic status is not shown on the customer’s profile page. The unsubscribed indicator there reflects global status only. See How do I know if a customer is unsubscribed?
Troubleshooting
Far fewer customers received the campaign than expected
Possible causes: The campaign has a topic whose default status isunsubscribed, so it only reached customers who had been explicitly opted in or had saved their preferences.
Solution: Check the topic with topic_get on the Vero MCP server. If the topic should reach everyone by default, update its default status with topic_update, which applies to customers who have never made an explicit choice.