

Prerequisites
- The preference center enabled on your project – contact us and we will turn it on. It is off by default and cannot be enabled from Settings.
- Access to the Vero MCP server – topics are created through the MCP server rather than the Vero interface. See Use Vero with AI for setup, and Authentication for generating an API secret key.
- A plan for your topics – decide what your topics are before creating any, because topics cannot be deleted once they exist.
Step 1: Plan your topics
A topic should map to a kind of message a customer would reasonably want to keep or drop on its own, such asWeekly digest, Product updates, or Offers and promotions.
Some guidance:
- Keep the list short. A page with five topics is easier for your recipients to manage. A page with twenty is more likely to result in an Unsubscribe from all.
- Leave transactional messages untopiced. Receipts, password resets, and shipping notifications should have no topic, so they are always delivered.
- Write descriptions from the customer’s point of view. The description appears under the topic name on the preference center. Descriptions are limited to 200 characters.
- Choose each default status deliberately. A topic that defaults to
subscribedincludes every customer who has never made a choice. A topic that defaults tounsubscribedreaches nobody until a customer has been explicitly opted in through the API, or has ticked it and saved their preferences. This suits a topic customers must consent to.
Step 2: Create your topics
Connect your AI assistant to the Vero MCP server, then ask it to create each topic. The server exposes four topic tools:
Asking your assistant in plain language is enough, for example:
nameis required and must be unique within the project, ignoring case and leading or trailing spaces.- A project can have up to 100 topics.
descriptionis optional and at most 200 characters. Passnullintopic_updateto clear it.default_statusissubscribedorunsubscribed, and defaults tosubscribed.- Creating and editing topics requires an admin or read-write user. Read-only users can view topics but not change them.
Topics cannot currently be deleted, in Vero or through the MCP server. If a topic is no longer in use, rename it or set its default status to
unsubscribed and stop assigning it to campaigns. Let us know if deleting topics would be useful to you — we’re prioritising what to build next based on what customers ask for.Step 3: Add preference links to your emails
Four Liquid merge tags become available once the preference center is enabled. Insert them from the data selector in the email editor, or type them directly into your content.
A typical footer offers both, so a customer can leave one topic in a single step or open the full list:
{{url.unsubscribe_topic_link}} only names a topic when the campaign has one. In a campaign with No topic, the link takes the customer to the preference center instead, so it is always safe to include.Keeping the global unsubscribe link
{{url.unsubscribe_link}} and {{url.unsubscribe}} continue to work and still unsubscribe a customer from your project entirely.
Step 4: Preview the pages
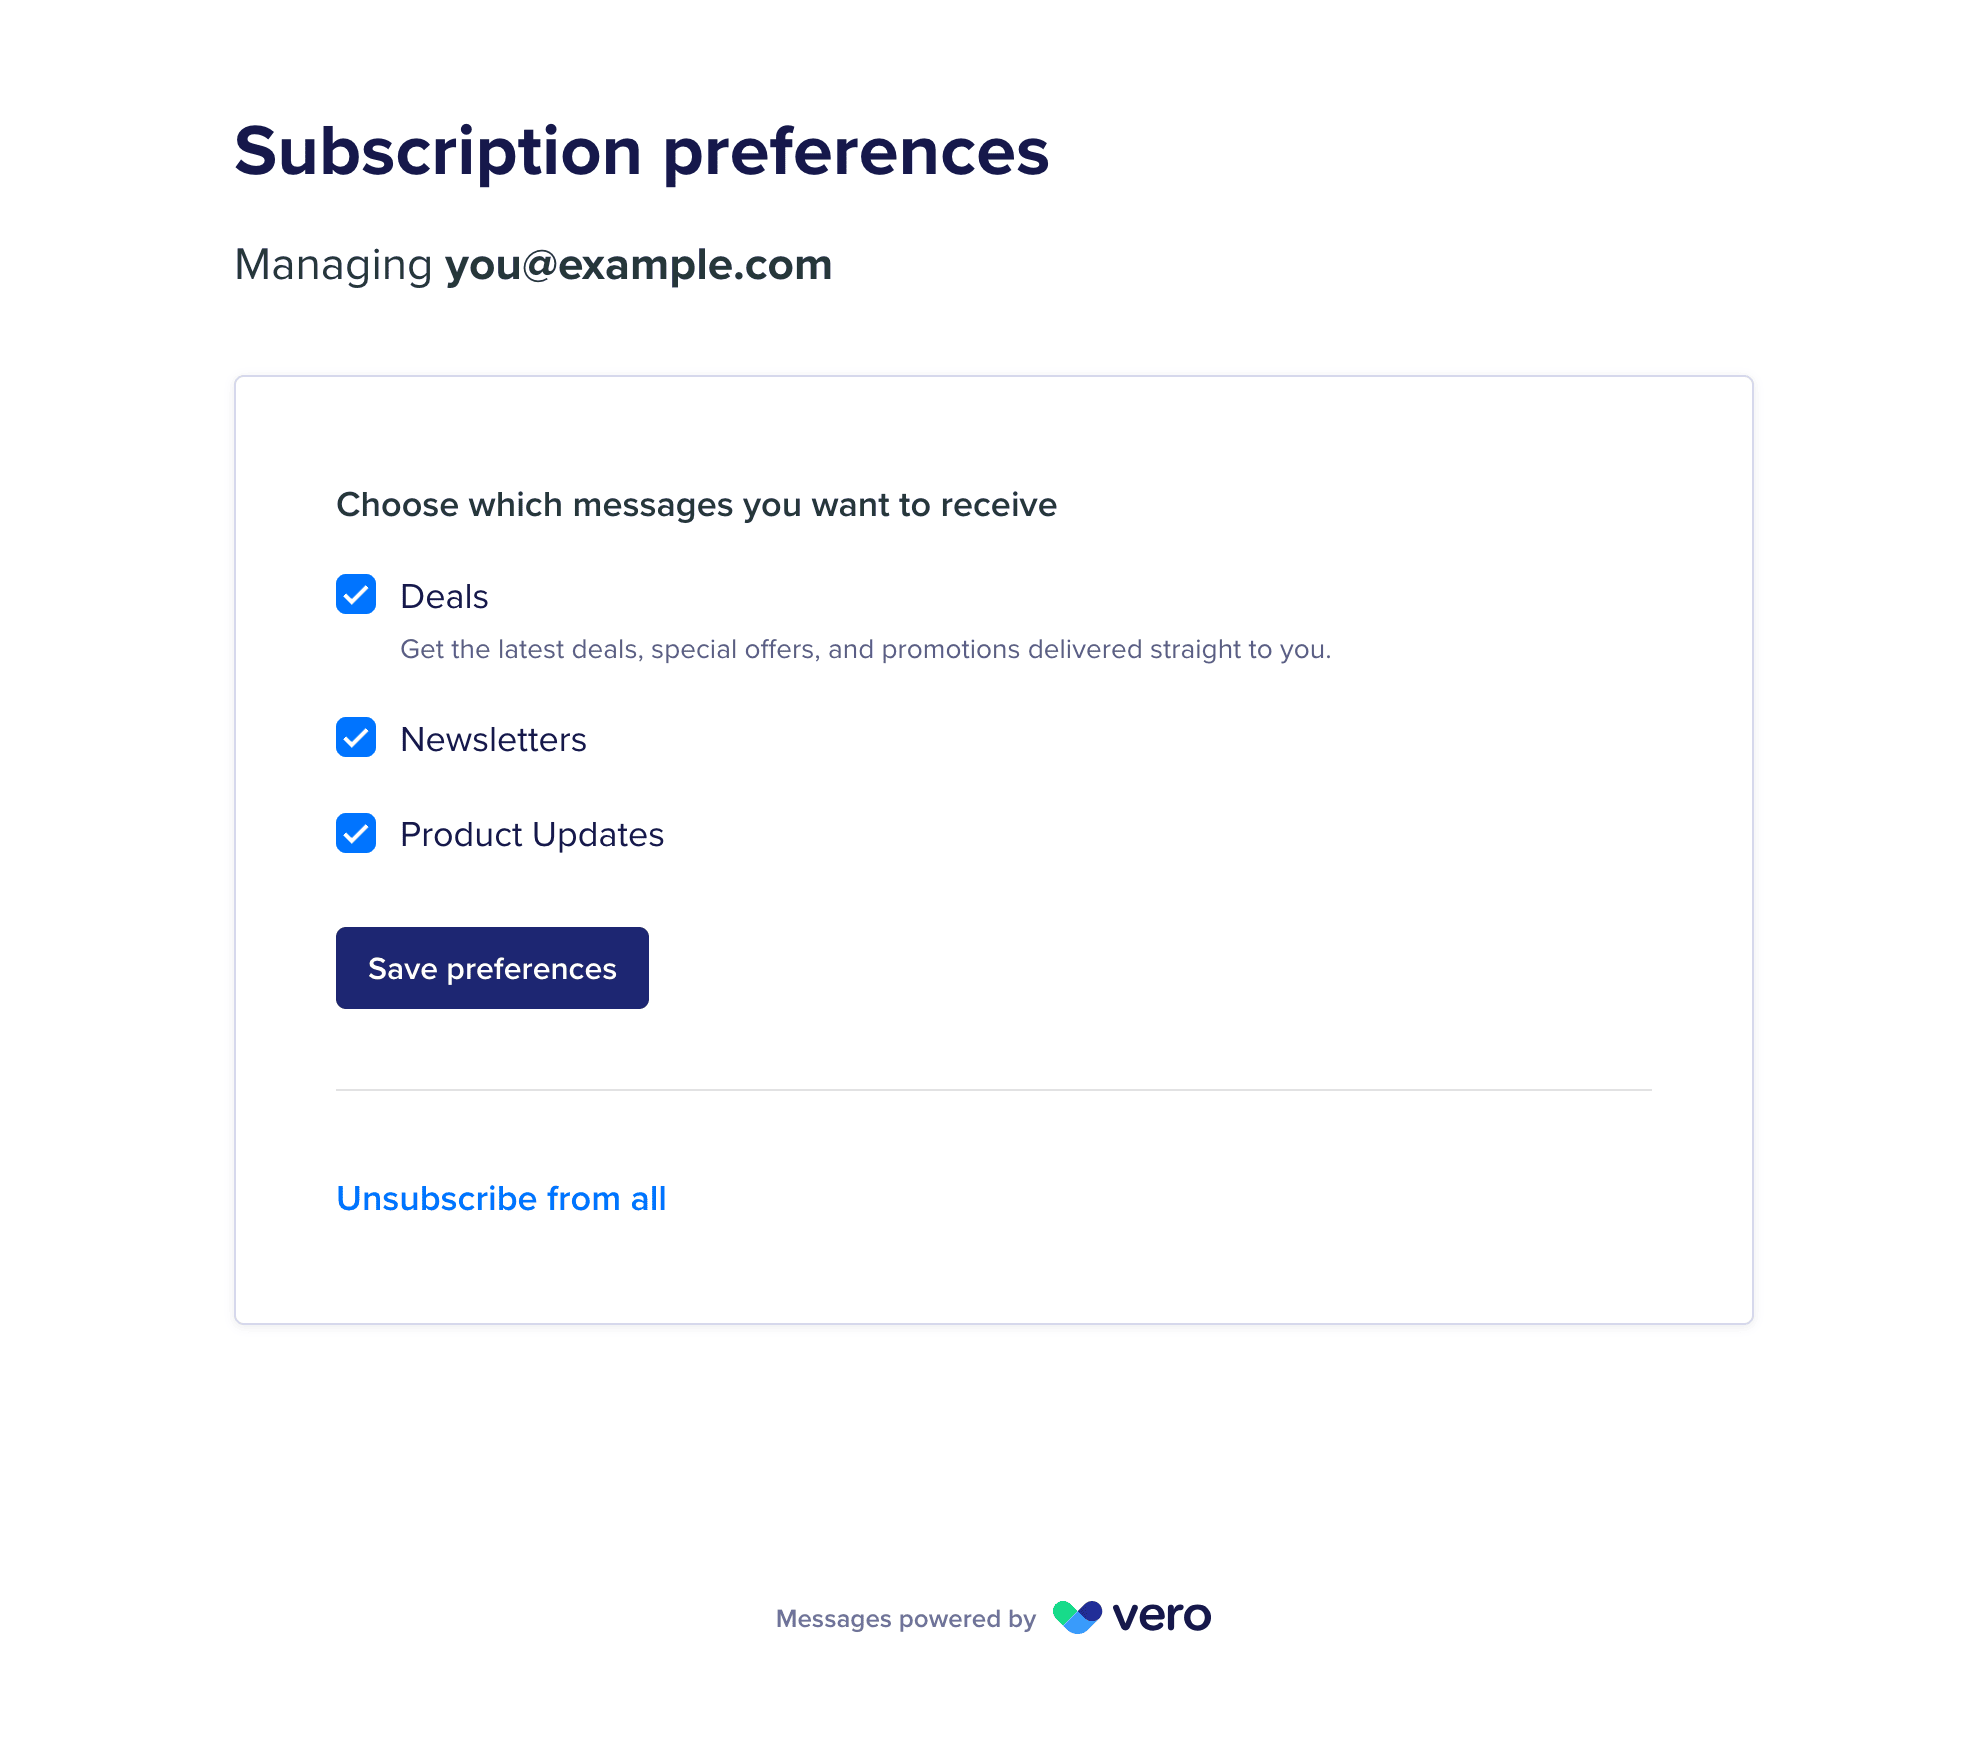
While signed in to Vero, you can view the pages with your own topics in place:- The preference center: app.getvero.com/unsubscribe/manage/preview
- The topic unsubscribe page:
https://app.getvero.com/unsubscribe/topic/preview/TOPIC_ID, replacingTOPIC_IDwith the id returned bytopic_list
Limitations
- Topics cannot be created, edited, or viewed in the Vero 1.0 interface. Only via the MCP or API.
- The custom unsubscribe page under Settings → Unsubscribe is ignored once the preference center is enabled. Vero hosts the whole journey instead.
Troubleshooting
The new Liquid tags are missing from the editor
Possible causes: The preference center has not been enabled on this project. Solution: Contact us to have it enabled. The tags only appear once the project is switched on.A preference link takes the customer to the standard unsubscribe page
Possible causes: The link was generated before the preference center was enabled on the project, or it was sent from a different project. Solution: Links are checked against the project each time they are opened. Send a fresh test email from the enabled project and follow the link from there.The preference center says there are no topics to choose from
Possible causes: The project has no topics yet. Solution: Create at least one topic withtopic_create, then reload the page.